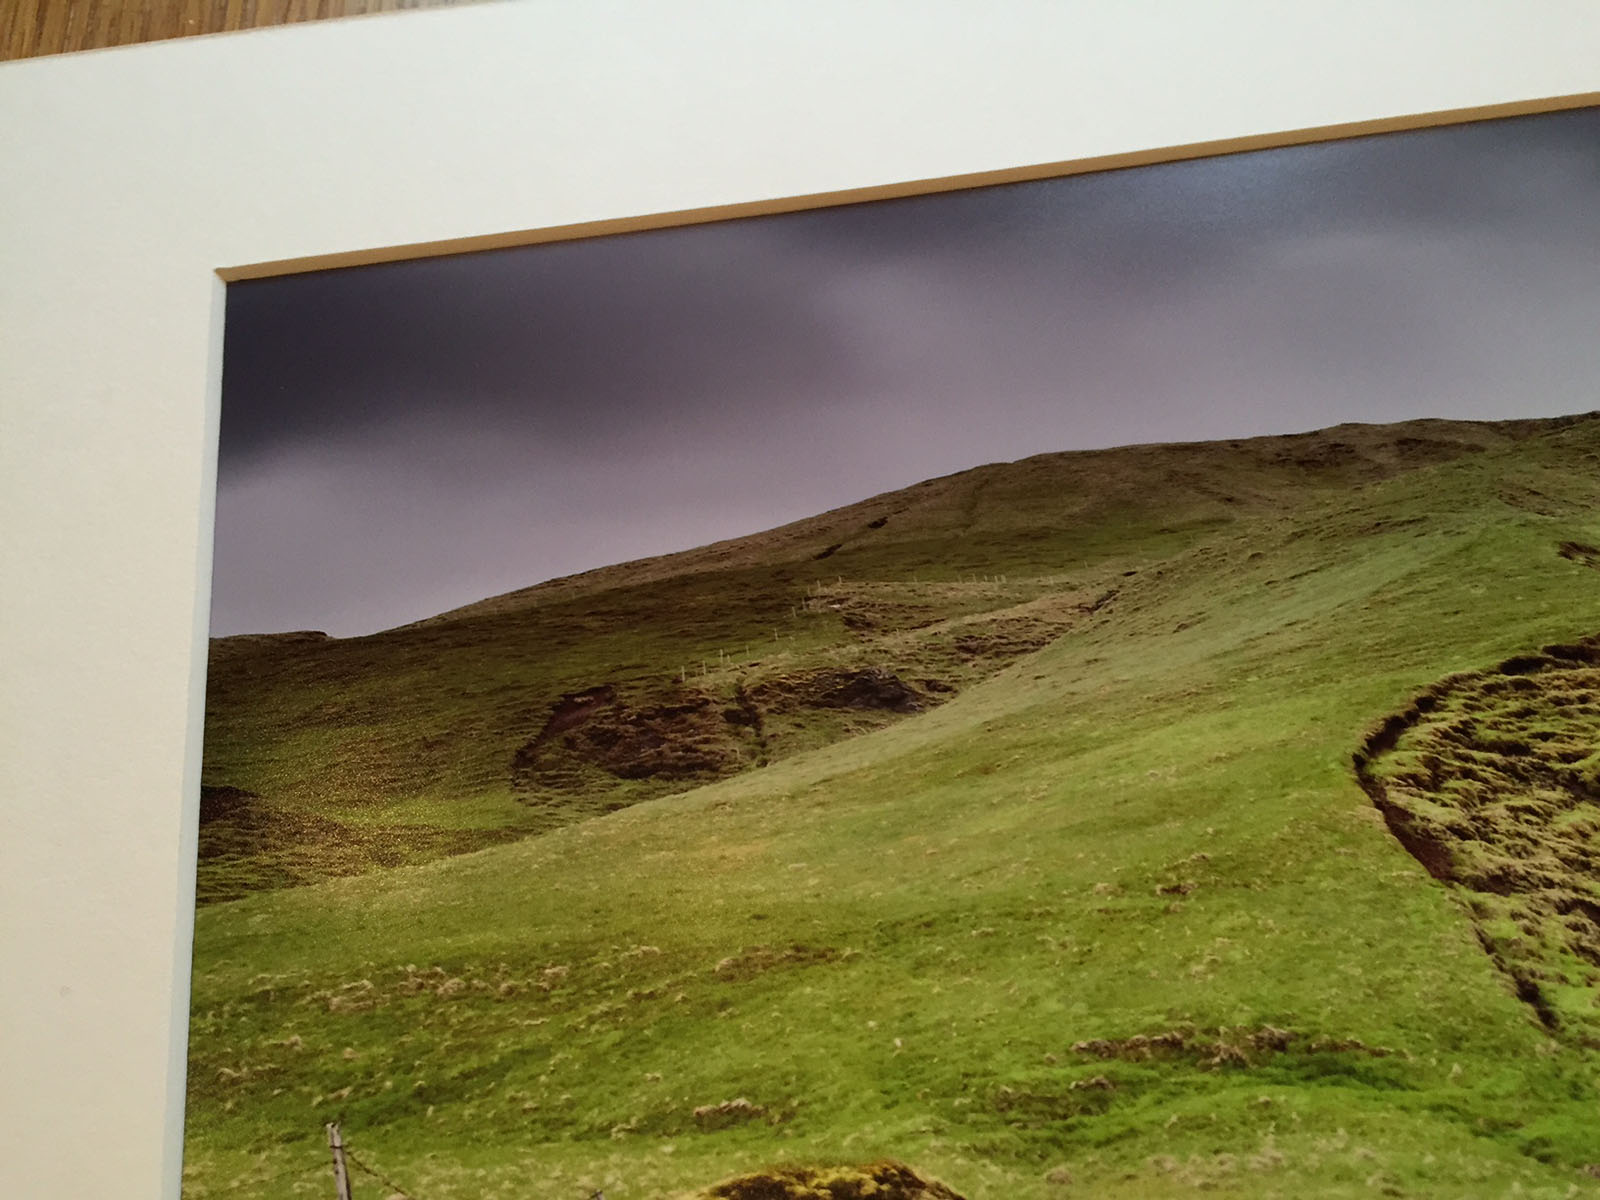
Most of my portfolio comes from my travels across the planet, be it frozen wastelands, volcanoes or mineral lakes so toxic that NASA scientists research them in order to further their understanding of how alien life might exist “out there”. So it is easy to forget just how beautiful the UK is.
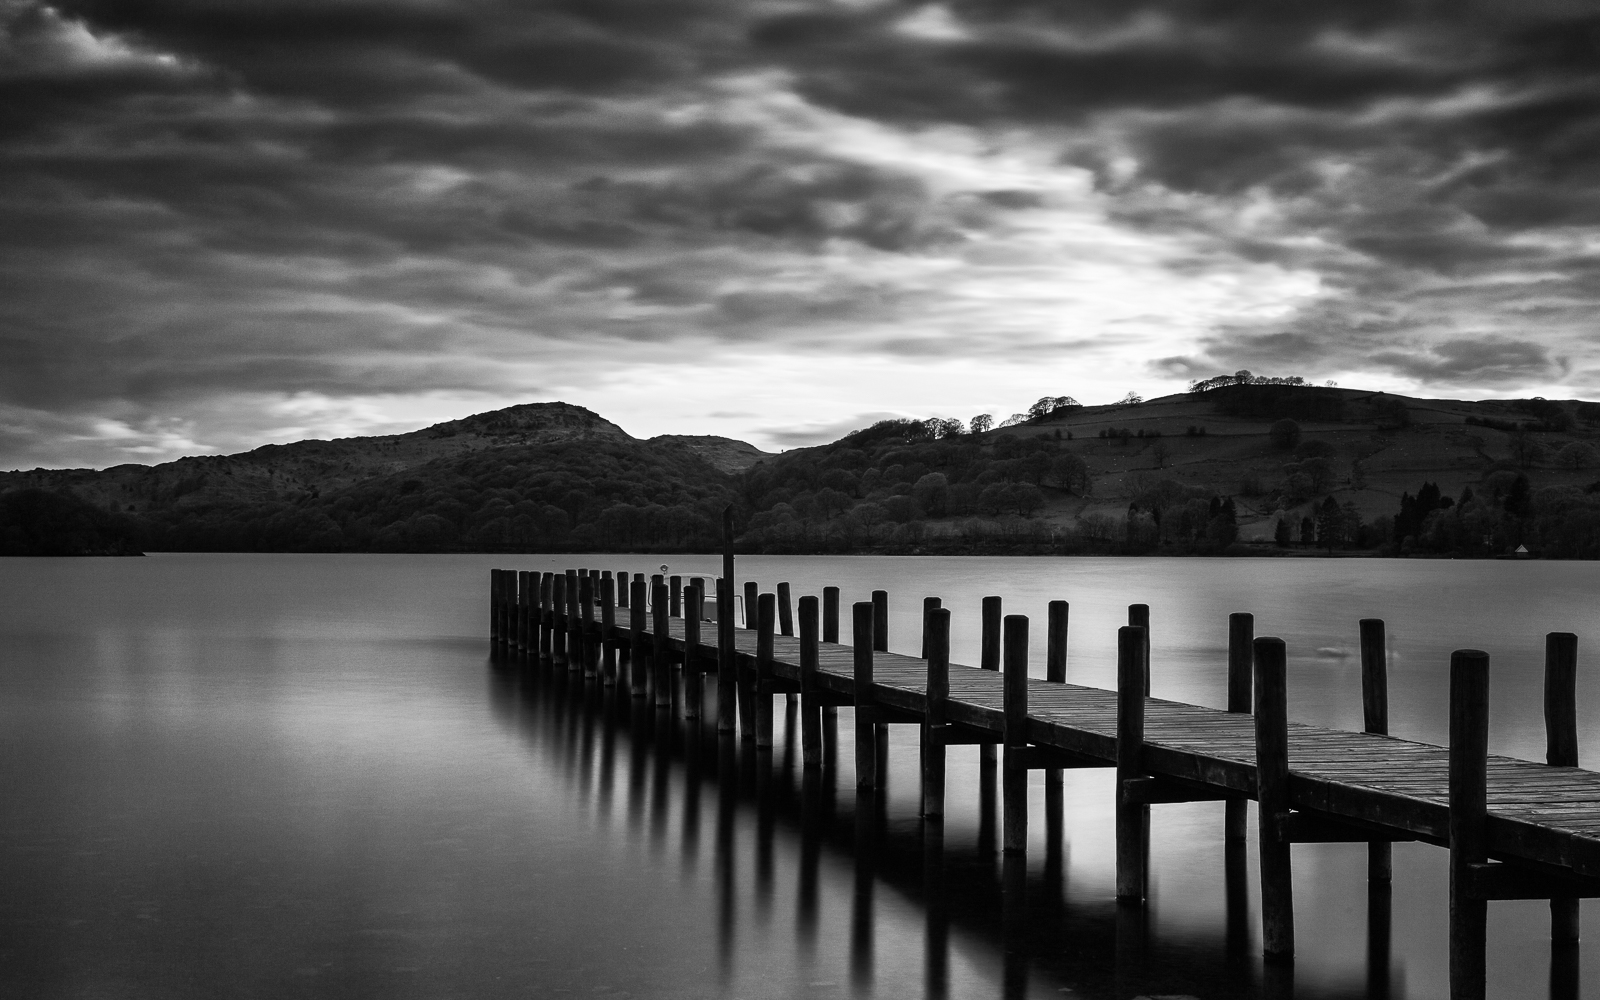
The sun eventually dips below the mountains as storm clouds move in. Windermere may be the most popular lake in the Lake District but I prefer the quietness of Coniston Water. [Click to enlarge]


![Seljalandsfoss is extremely popular due to its close proximity to Reykjavik and the fact that you can walk behind it. Oh, and it’s a waterfall – everybody loves a waterfall… [Click to enlarge!]](http://davehoggan.com/wp-content/uploads/2015/07/MG_7185.jpg)
![Glufrafoss is only a short walk from Seljalandsfoss but for the number of tourists it sees, it could be a million miles away… [Click to enlarge!]](http://davehoggan.com/wp-content/uploads/2015/07/MG_6344.jpg)
![As a picturesque setting there may be better waterfalls, but as a private table for two having a picnic it will be an experience few others will have had. [Click to enlarge!]](http://davehoggan.com/wp-content/uploads/2015/07/MG_6335.jpg)
![Skogafoss, a truly magnificent sight by any standards, is usually hidden by a mass of tourists. [Click to enlarge!]](http://davehoggan.com/wp-content/uploads/2015/07/MG_5942.jpg)
![With plenty of slack in the schedule you can afford to wait until you are, quite literally, alone with nature. [Click to enlarge!]](http://davehoggan.com/wp-content/uploads/2015/07/MG_6254.jpg)

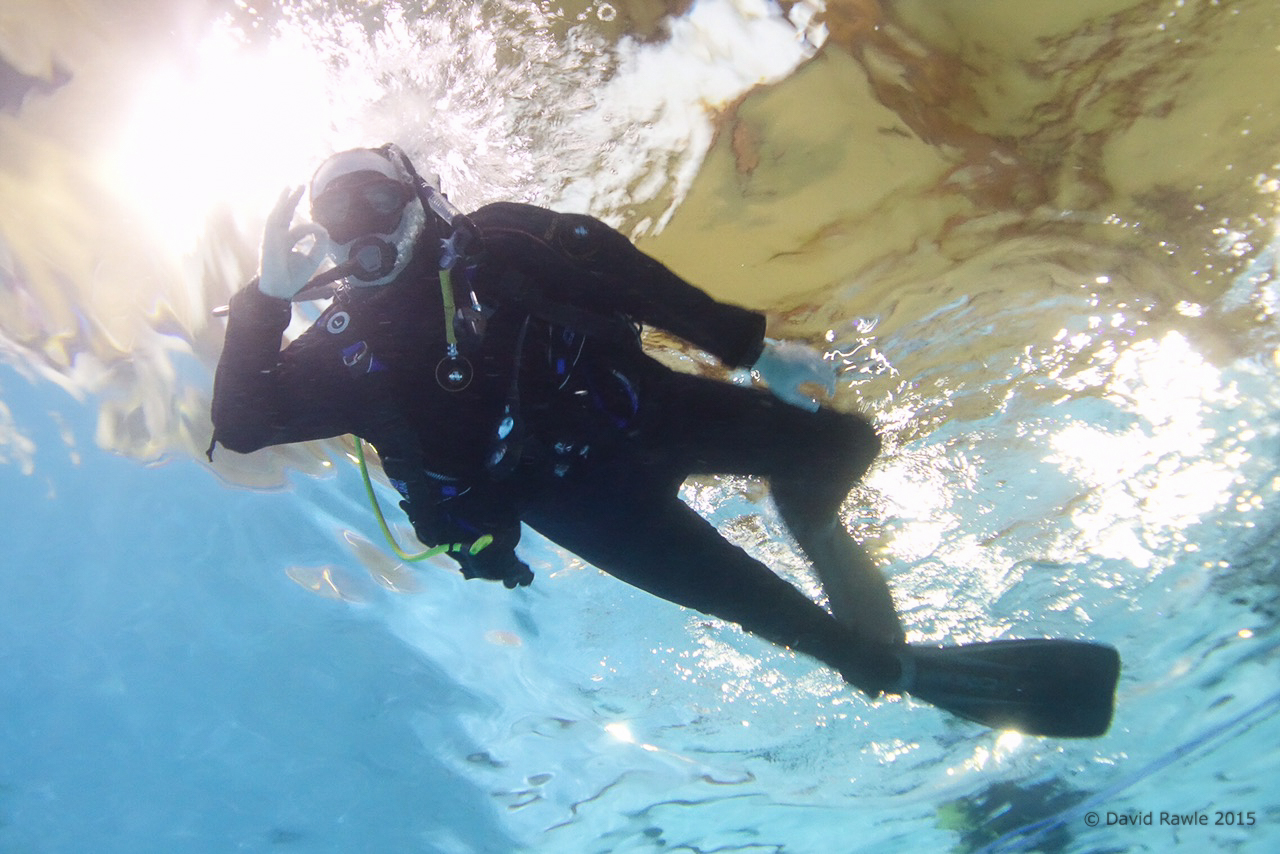
![Having 30kg of kit to carry is just one reason that you’re not going to be gliding dolphin-like through the water. [Click to enlarge!]](http://davehoggan.com/wp-content/uploads/2015/07/IMG_0476-peep-2.jpg)

![As pretty as Cape Pembroke was at sunset, hiking back wasn’t a fun experience. [Click to enlarge!]](http://davehoggan.com/wp-content/uploads/2015/05/2010-FAL-440.jpg)
![Much of the day will be spent on the highland road F35 - not something you would want to attempt without a 4WD. [Click to enlarge!]](http://davehoggan.com/wp-content/uploads/2015/05/Thingvellir-Hveravellir-1600px.jpg)
![Google Maps chose the blue line as the 'best' route between Kerlingarfjoll and Grundarfjordur, but best for whom? Reseach and local knowledge suggests the longer, but safer route in blue/white. [Click to enlarge!]](http://davehoggan.com/wp-content/uploads/2015/05/Kerlingarfjoll-Grundarfjordur-Routes-1600px.jpg)
![Snaefellsnes may be a relatively small peninsula but it offers a wide range of landscapes to photograph. I struggled to limit myself to the dozen points of interest above. [Click to enlarge!]](http://davehoggan.com/wp-content/uploads/2015/05/Snaefellsnes-POI-1600px.jpg)


![Hundreds of images were very nearly harmed in the making of this shot... [Click to enlarge]](http://davehoggan.com/wp-content/uploads/2015/05/MG_0443.jpg)

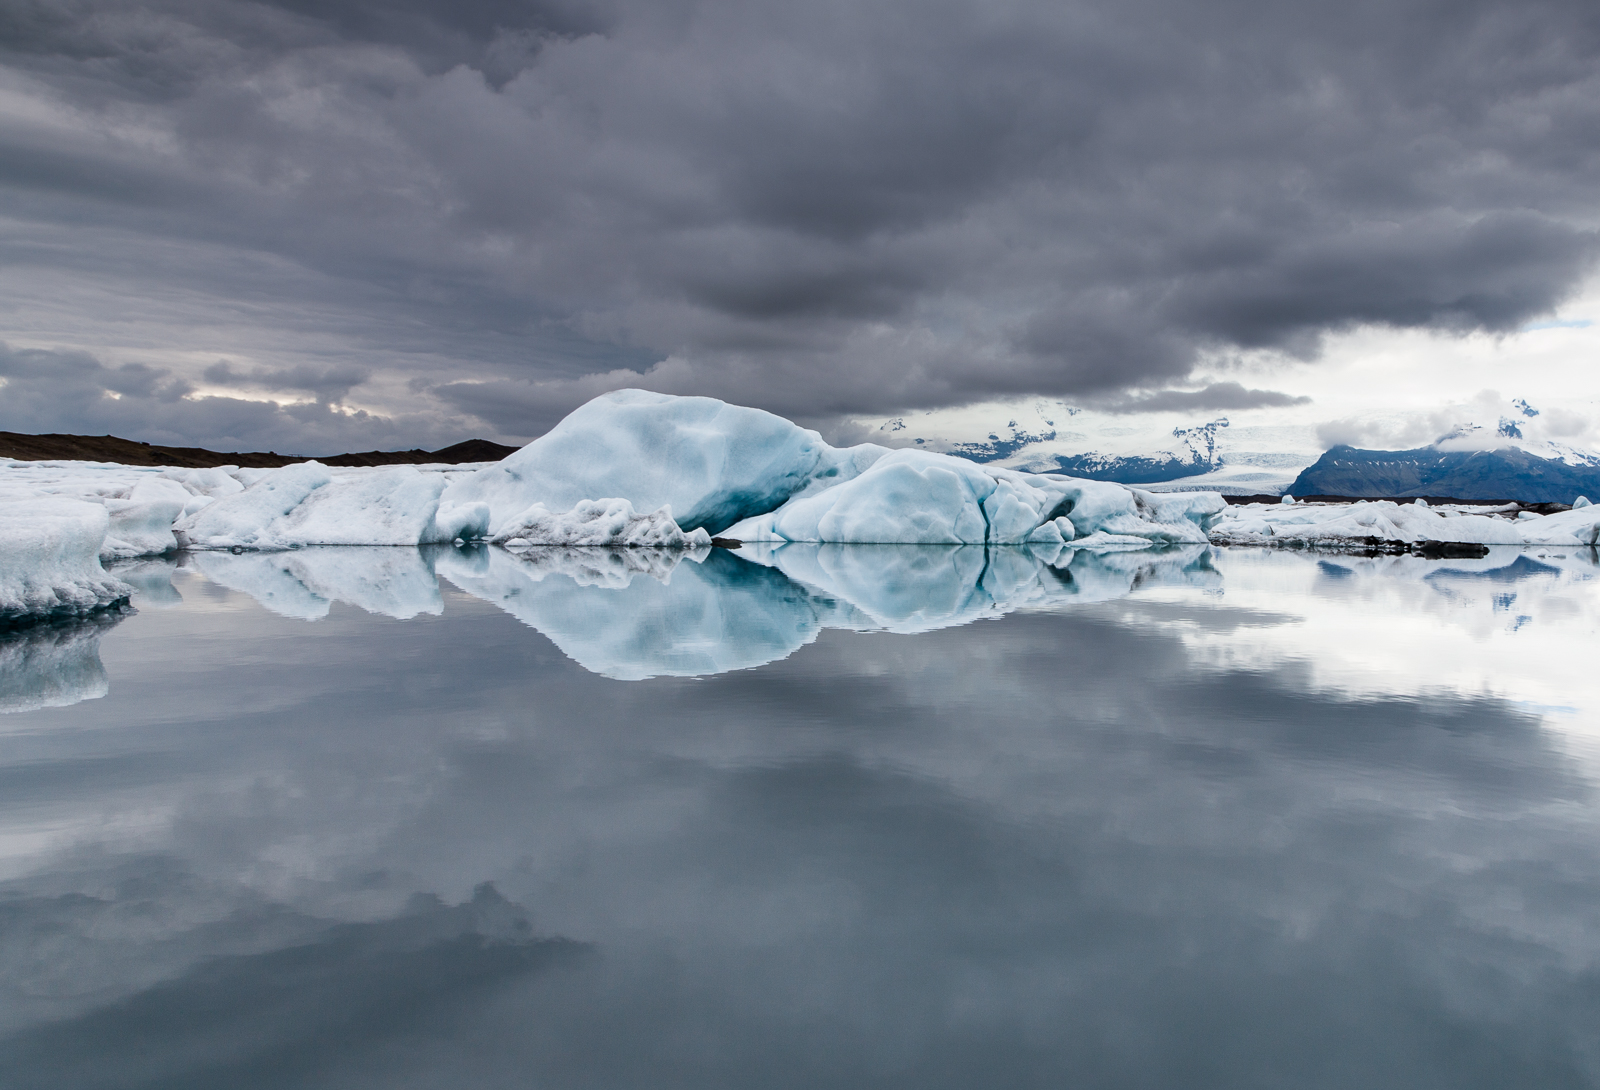
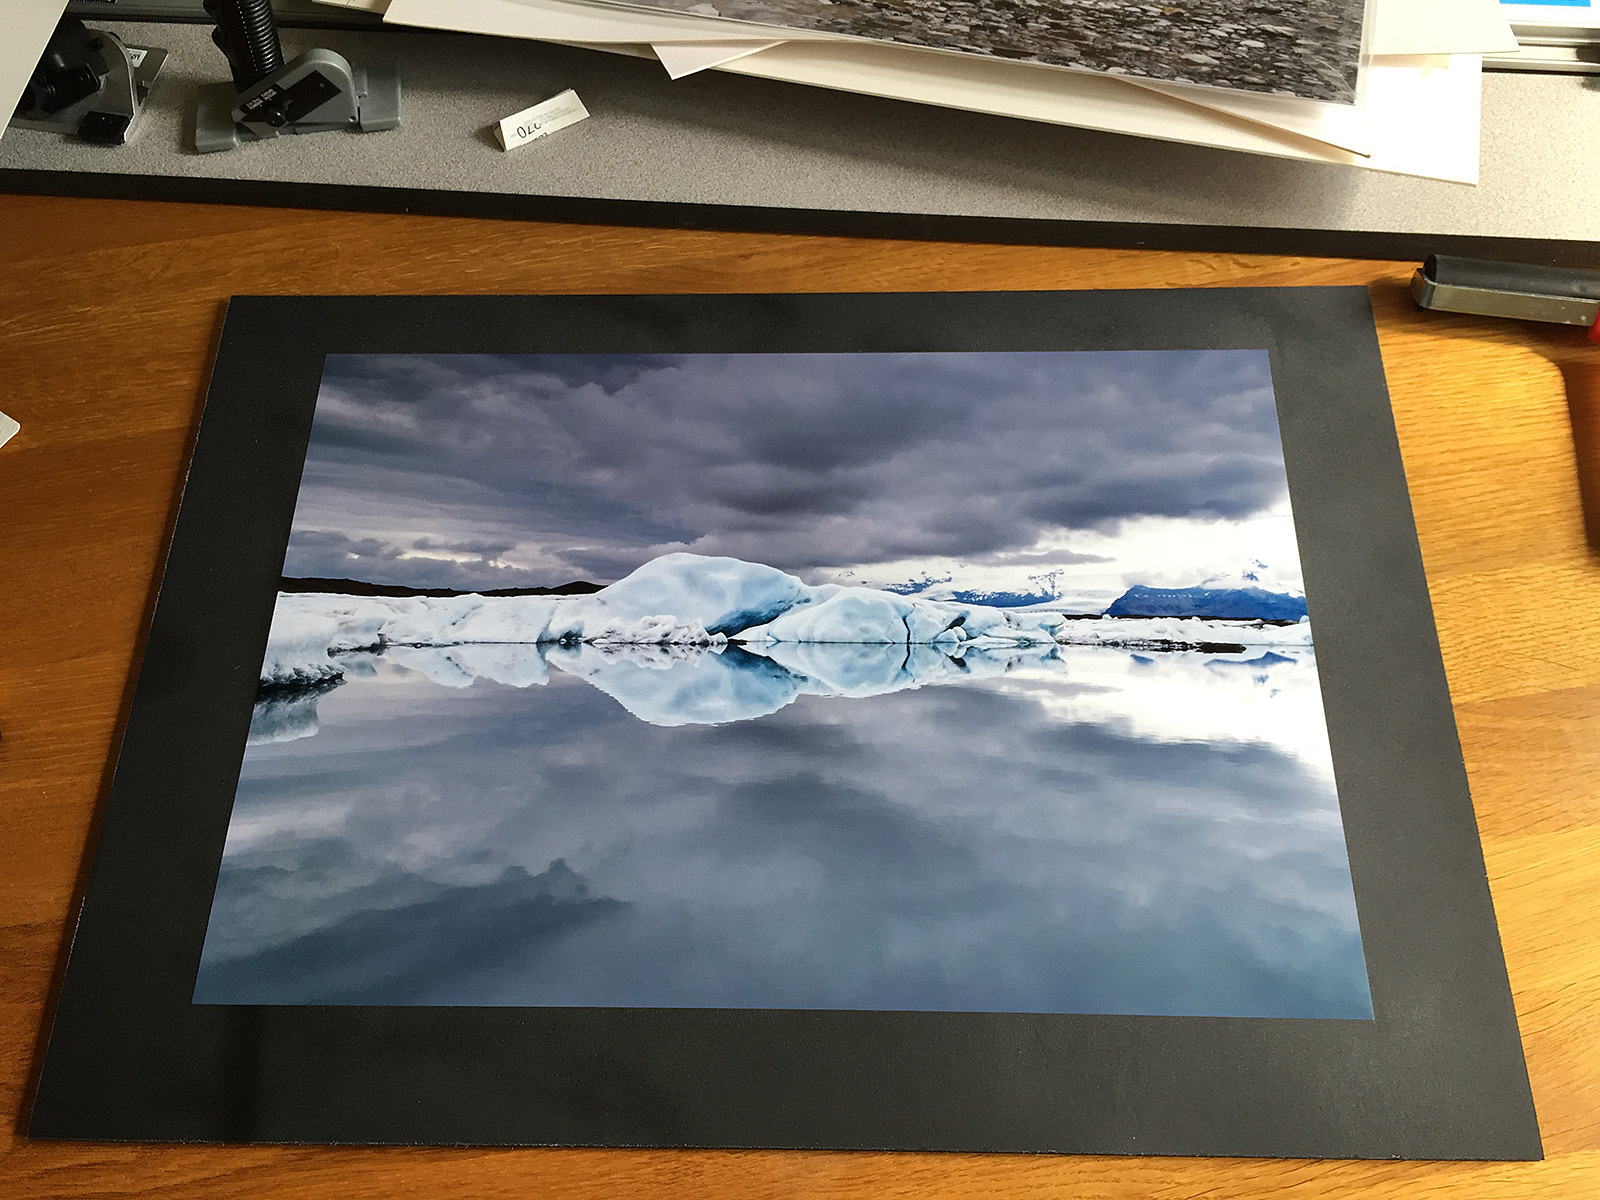
![Same image, but a different feel. [Click to enlarge!]](http://davehoggan.com/wp-content/uploads/2015/04/jokulsarlon_wallpaper.jpg)

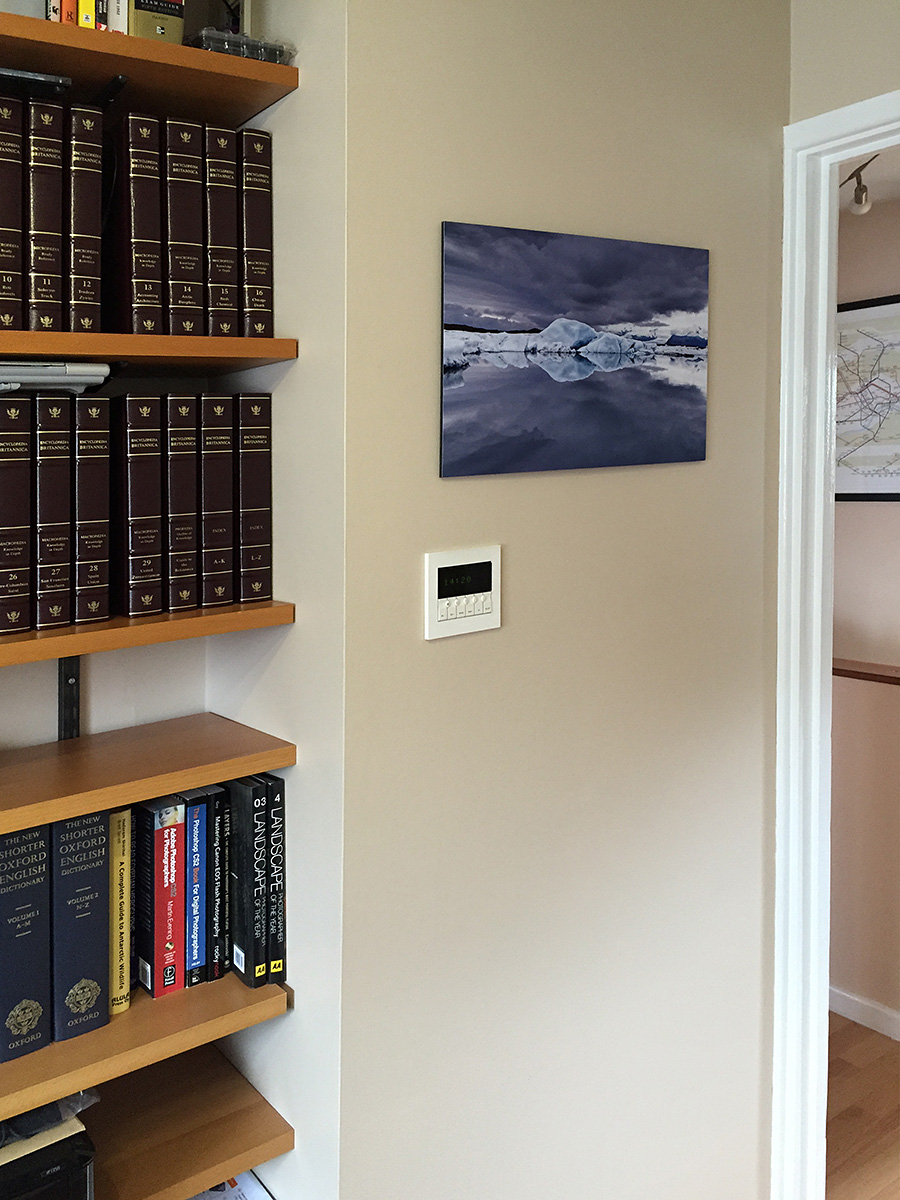
![There's no denying that a large image or graphic make a striking statement, but you have to choose carefully. The image should be timeless and detailed enough to reward people for repeated viewing with details they've missed in the past. [Click to enlarge]](http://davehoggan.com/wp-content/uploads/2015/04/MG_2667.jpg)
![Meeting rooms can be clinical places often decorated as an afterthought, if at all. Add a feature image (and maybe a potted plant or two) and even small rooms can feel more welcoming. [Click to enlarge]](http://davehoggan.com/wp-content/uploads/2015/04/MG_2655.jpg)
![It is a great way to encourage employees to take pride in the appearance of their place of work - by making it personal. [Click to enlarge]](http://davehoggan.com/wp-content/uploads/2015/04/MG_2661.jpg)
![Even a 10.1MP camera like the Canon 40D can produce respectable sized images like this 150cm by 100cm canvas. [Click to enlarge]](http://davehoggan.com/wp-content/uploads/2015/04/MG_2626.jpg)