Tag Archives: long exposure

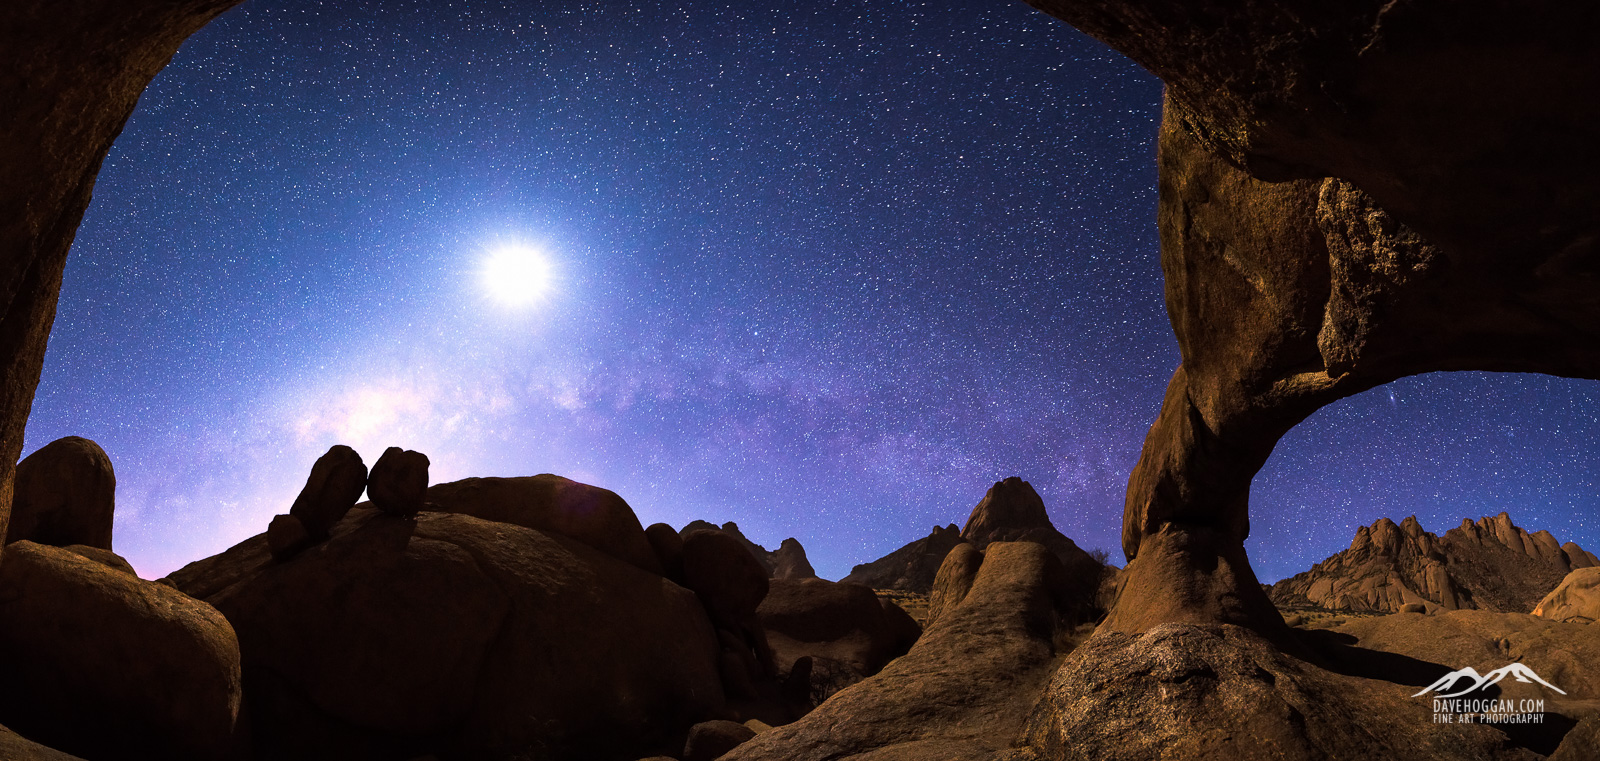
Milky Way Over Spitzkoppe, Namibia

Despite my dubbing it "a big rock", Spitzkoppe offers some beautiful scenery and one well worth spending time at.

Despite my dubbing it “a big rock”, Spitzkoppe offers some beautiful scenery and one well worth spending time at.

Some things just take time, like this image taken at the Spitzkoppe range in Namibia.

By the time we reached Spitzkoppe on our journey through Namibia we were finding our own feet when it came to understanding how to take night-sky images. Emil from Nature’s Light had patiently and repeatedly taken us through the process of capturing and subsequently processing images and we were finally getting to a place where we were less concerned about the process and more concerned about the composition. Even so, the first night we spent at the rock arch seen above was difficult for me.

I am not a fast photographer. As I look at a scene it takes time for the image to become clear in my mind. Until then all I see is a discordant jumble of elements all demanding attention. As so it was the first evening of shooting: the sky; the Milky Way; the arch; the boulders; the distant peaks. I spent a couple of hours shooting but left feeling deflated and frustrated.

The second day was spent doing not a lot of anything; the daytime temperature was creeping up to 40°C and the rock landscape was being bathed in harsh direct sunlight with no shade. But my mind was ticking over and as I worked through the previous night’s images I could see a shot  in my mind. Spitzkoppe is a big landscape but using a wide focal length to fit it all in would reduce features to tiny dots. So a panorama might work. The problem with panoramas – especially at night – is that they take time to shoot and it was not until I started night-sky photography a few days previously that I realised just how quickly stars move. They’re surprisingly fast! The speed issue was compounded by the fact that I was trying to shoot the Milky Way and if I took too long shooting the individual images then the panorama would end up with the Milky Way in steps across the sky. The final challenge was that the moon was out in force and it would be all but impossible to stop it blowing the highlights sky high (yes, pun intended).

I like this image for a number of reasons. First it appeals to my inner geek as it is probably the most technically challenging shot I have taken consisting of several 30-second exposures whilst trying to keep foreground detail interesting and the Milky Way in one piece. Second, I like the repeated use of upward curves; the curve of the rock arch in disappearing off the top of the frame in the foreground; the curve of the secondary arch to the right; the curve of the Milky Way; the boulders in the mid-ground and curve of the mountains in the distance. And third, I like the fact that, if you look closely, you can see Emil and Romeo in the distance having a beer!

Photographs serve many different purposes from reporting events in a factual way to providing that 500pix “WOW” factor. I prefer those images that I find myself returning to time and again and igniting memories of spending time with kindred spirits under magical skies.


Posted in Frame by Frame Also tagged , , , , |

Hvitanes – The British Occupation of Iceland.

Most people have heard of World War II. Involving thirty countries and approximately 100 million people it is still – perhaps thankfully – the largest conflict the human race has waged upon itself. Estimates are vague but somewhere between 50 and 85 million people lost their lives which at best means that one in two people involved died; at worst 85 per cent of all those involved never saw the end of the war. And the catalyst for such widespread destruction? Germany invading Poland.

But did you know that on the 10th May 1940 Britain invaded the neutral country of Iceland?

The British were well aware of the strategic importance of the North Atlantic and were keen to not lose their control of the area. At the time Iceland was a neutral country but after the German occupation of neutral Denmark, Churchill became increasingly concerned that Germany would next invade Iceland providing them a worryingly strategic base for submarine, naval and air command. Britain sent an offer of assistance to Iceland but this was rejected, presumably as a stance of neutrality was still seen as preferable, so Churchill ordered the invasion of Iceland to ensure that it did not fall under German control.

It was a “quiet” invasion and were it not for the fact that it was an act of war, the accounts of the half-baked planning, misunderstood orders and the fact that everyone in Iceland – including the German consulate – simply accepted it, would perhaps make it a worthy light-hearted war film.

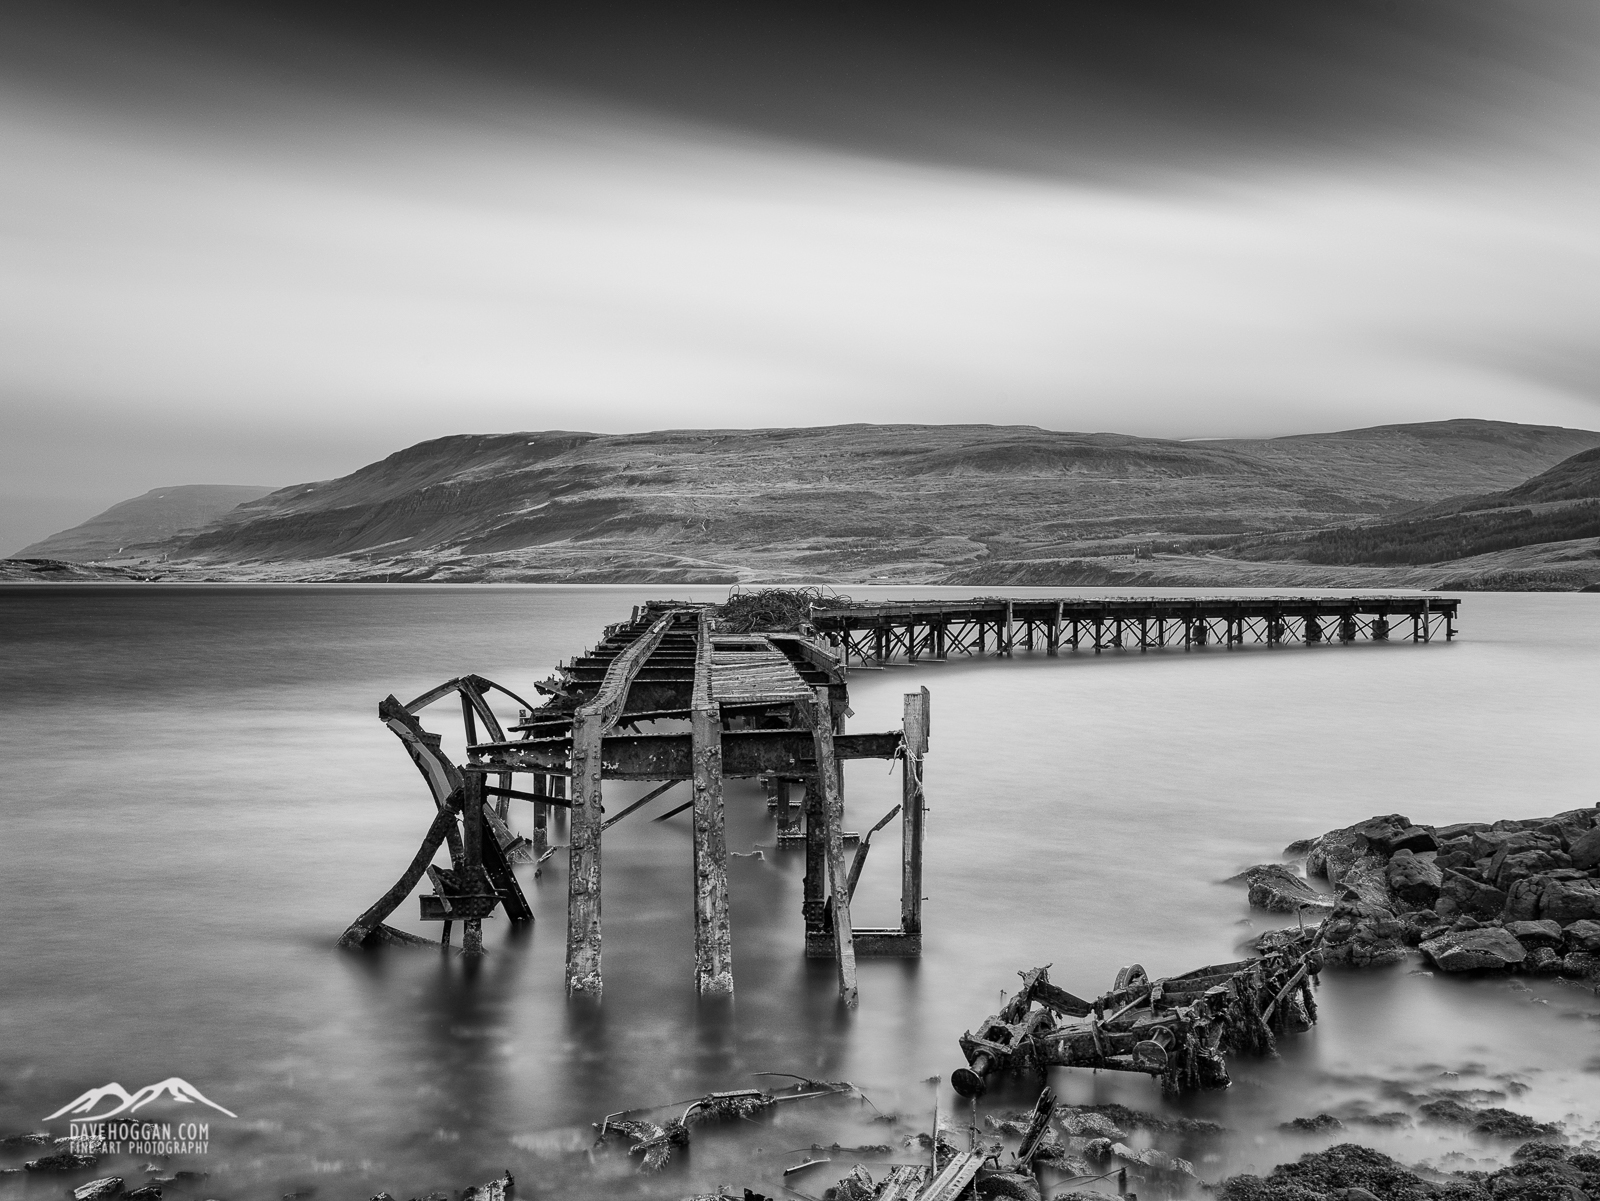
The key reason for the occupation of Iceland was to ensure the continued British control over the North Atlantic and so a number of naval bases were constructed, including one in the deep-water fjord of Hvalfjörður, for the resupply and repair of naval vessels. This pier, and others like it, played a significant – and seldom recognised – part in the continued British control of one of the most important fronts of the war. The war eventually ended and the base, its purpose served, was abandoned to the Icelandic weather.

This shot posed a number of challenges. I wanted a long exposure – in the order of eight minutes to remove details in the sky and the water – but the only way to get this angle was to climb up on the other part of the pier and balance the tripod (and myself) on the middle steel girder. It was windy although not impossibly so, however the mist you see in the distance between the peaks was the real issue – wave after wave of rain! So taking this photograph meant starting the exposure and hoping the next rain shower didn’t arrive within eight minutes and that the wind did not pick up so much as to affect the image. When the rain arrived I had to pack up, retreat along the narrow girder to one of the derelict naval huts behind me and wait until the rain passed. Then try again. It took a good couple of hours.

The remains of the pier of the British naval base at Hvitanes.

The remains of the pier of the British naval base at Hvitanes.

Posted in Frame by Frame Also tagged , , , |

Kung Fu

There is a scene in the 1999 film The Matrix in which the protagonist Neo awakens from a virtual reality training session and states, simply “I know Kung fu”. It is an important moment as it is the point where the character understands that he can control the World around him and is the catalyst for his growth.

Thanks to Emil von Maltitz, lead photographer on the recent Nature’s Light “Composing the Dunes” Namibian workshop, I too can say: I know Kung fu. At least of the photographic variety.

The review of that trip is being written so I’m not going to talk about it here in detail but my hopes for it were simple: That they show me show great photographic locations and that I could photograph them without people getting in the way. I had no expectations other than that.

It is worth mentioning that I primarily use Adobe Lightroom for cataloguing and image processing as I find it simple and it has all the features I need to post process images without having too many to be cluttered. I have used Photoshop in the past – and have it as part of the Adobe Creative Cloud package – but I’ve never really liked it due to its complexity and over-engineering for my needs. If truth be told, I knew the Photoshop could do some clever things but even with online videos and tutorials I always struggled to use it – so much so that I simply avoided it.

I’ve also never tried astrophotography before. Well, I made an attempt in Iceland earlier this year, but the results were decidedly underwhelming. I knew from the itinerary that the Nature’s Light workshop made a bit of a feature of astrophotography and was keen to try it, but didn’t have high hopes as it would be my first real attempt.

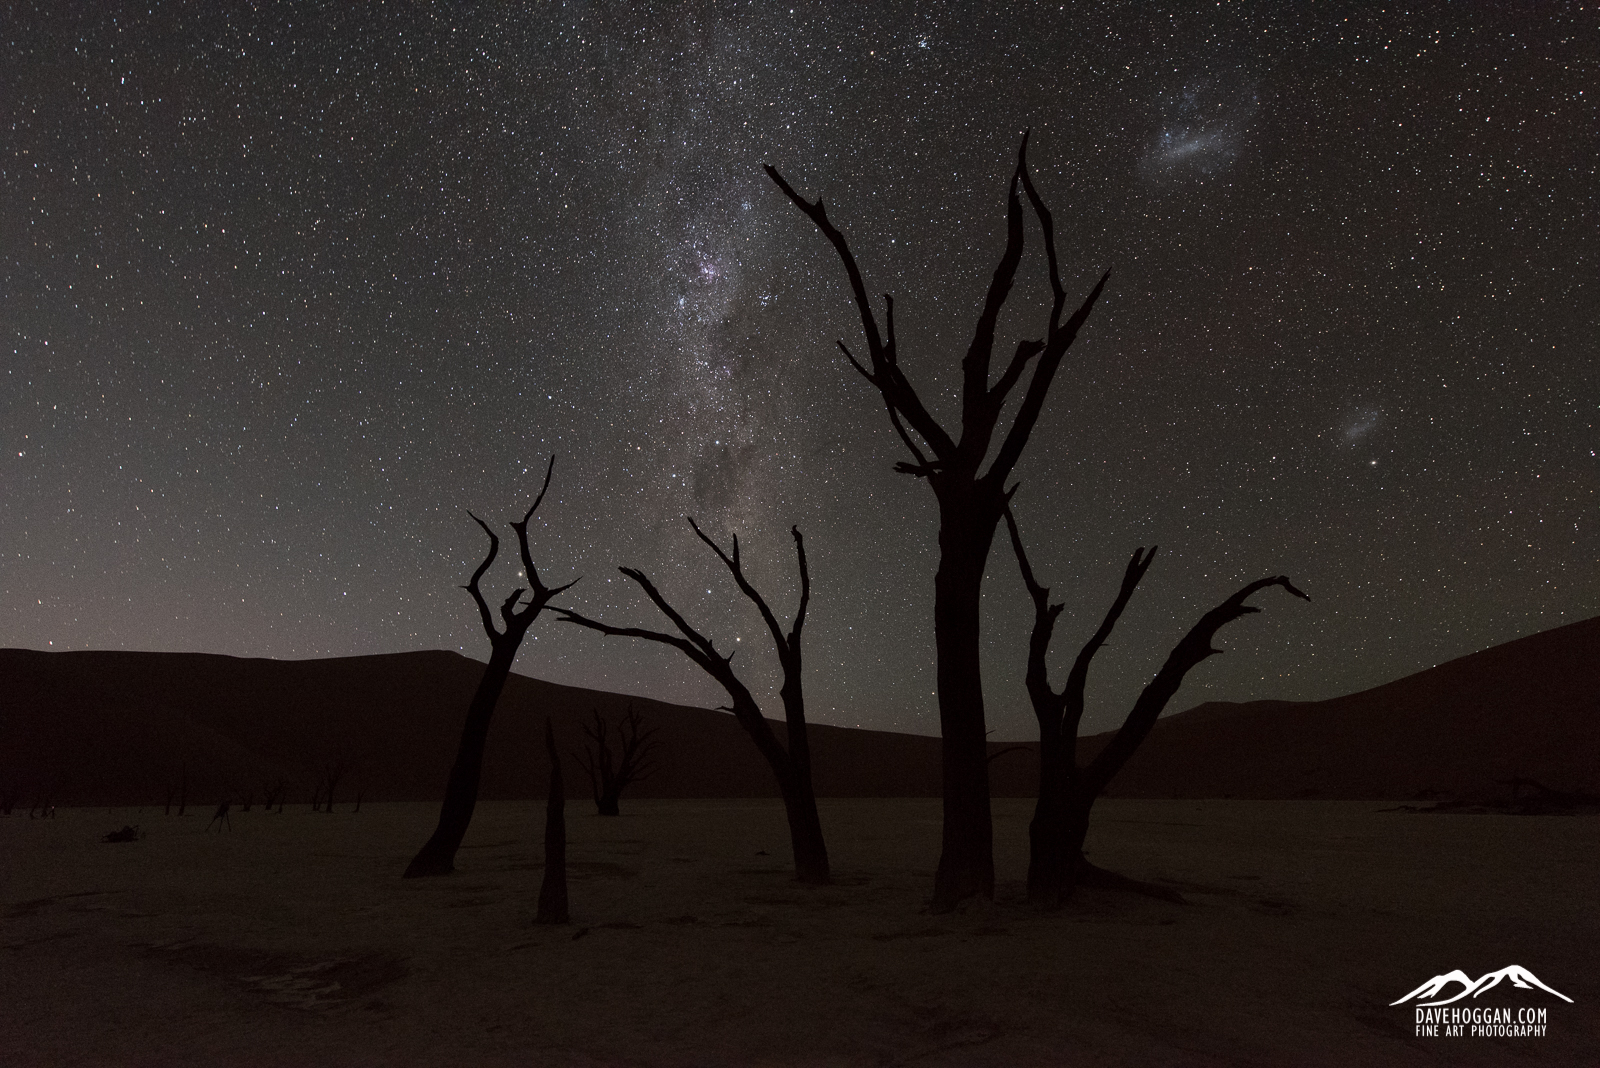
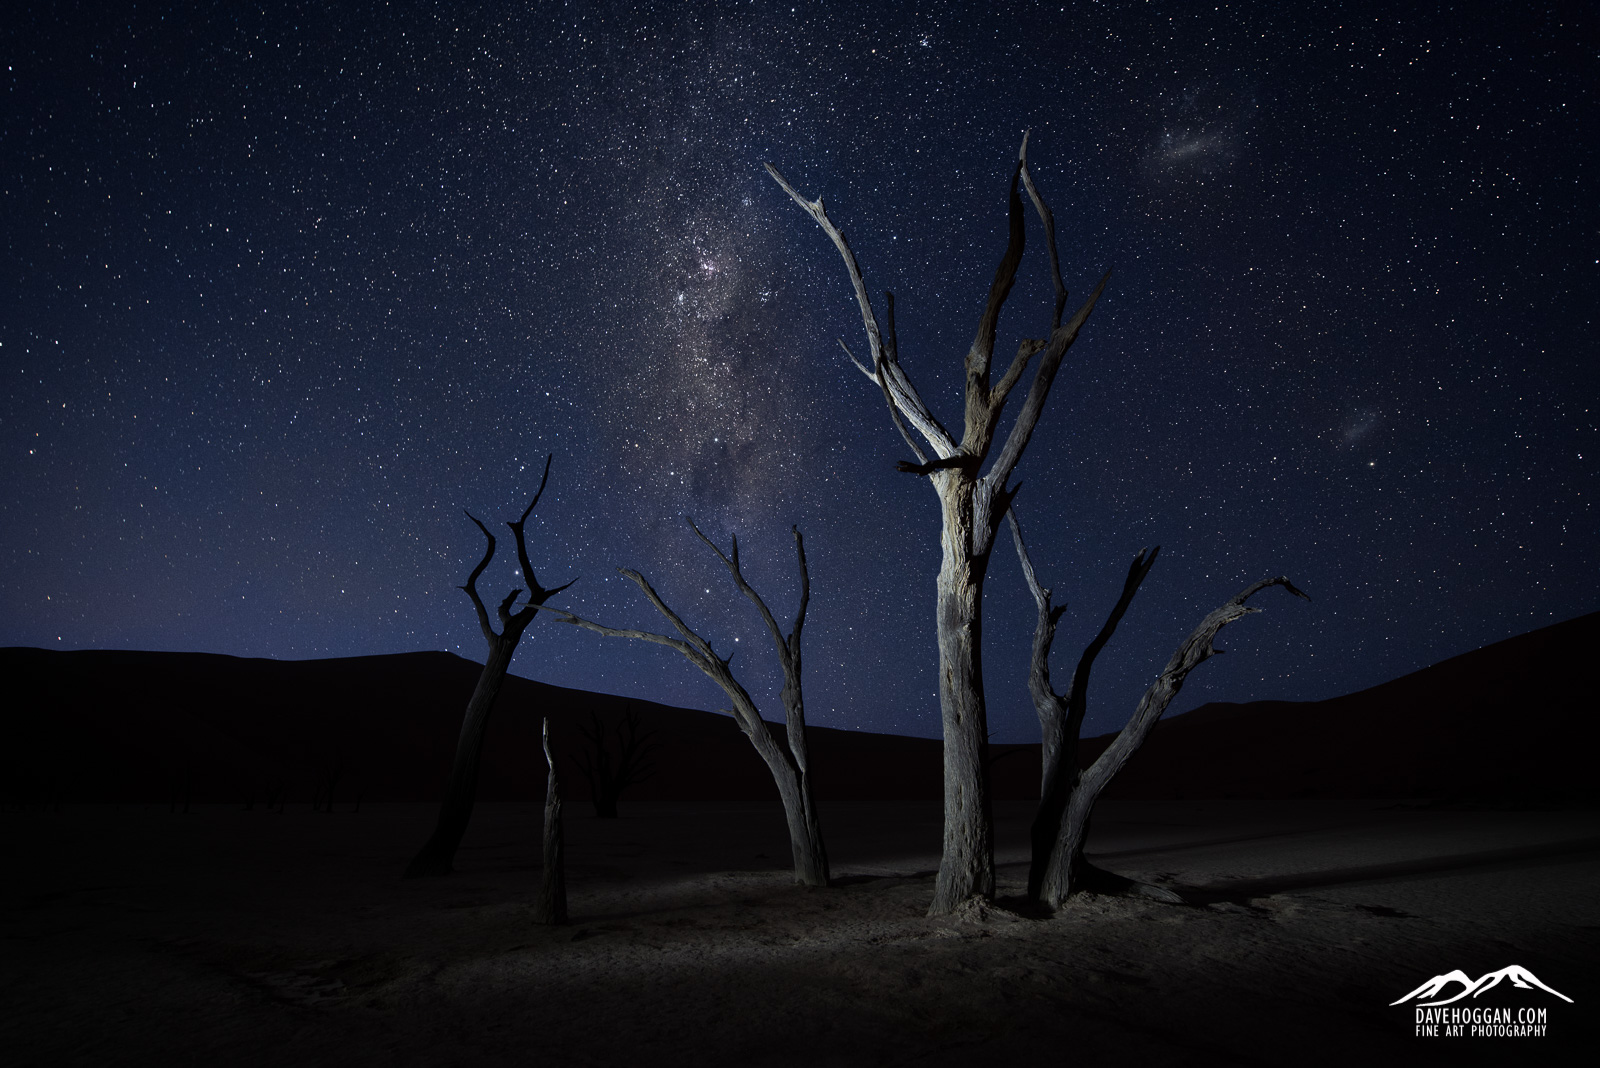
In short, the best I could have hoped for a month ago was this:

Despite the eye-catching sky in the past this image would have not made first pick as I lacked the skill to process it.

Despite the eye-catching sky in the past this image would have not made first pick as I lacked the skill to process it.

A quick glance and it all looks reasonable. As you can see the stars, well, look like stars, the Milky Way is distinct and the Large and Small Magellanic Clouds look suitably like galaxies. In fact, if this image were only to be looked at on a phone display or even a tablet then the image looks perfectly fine.

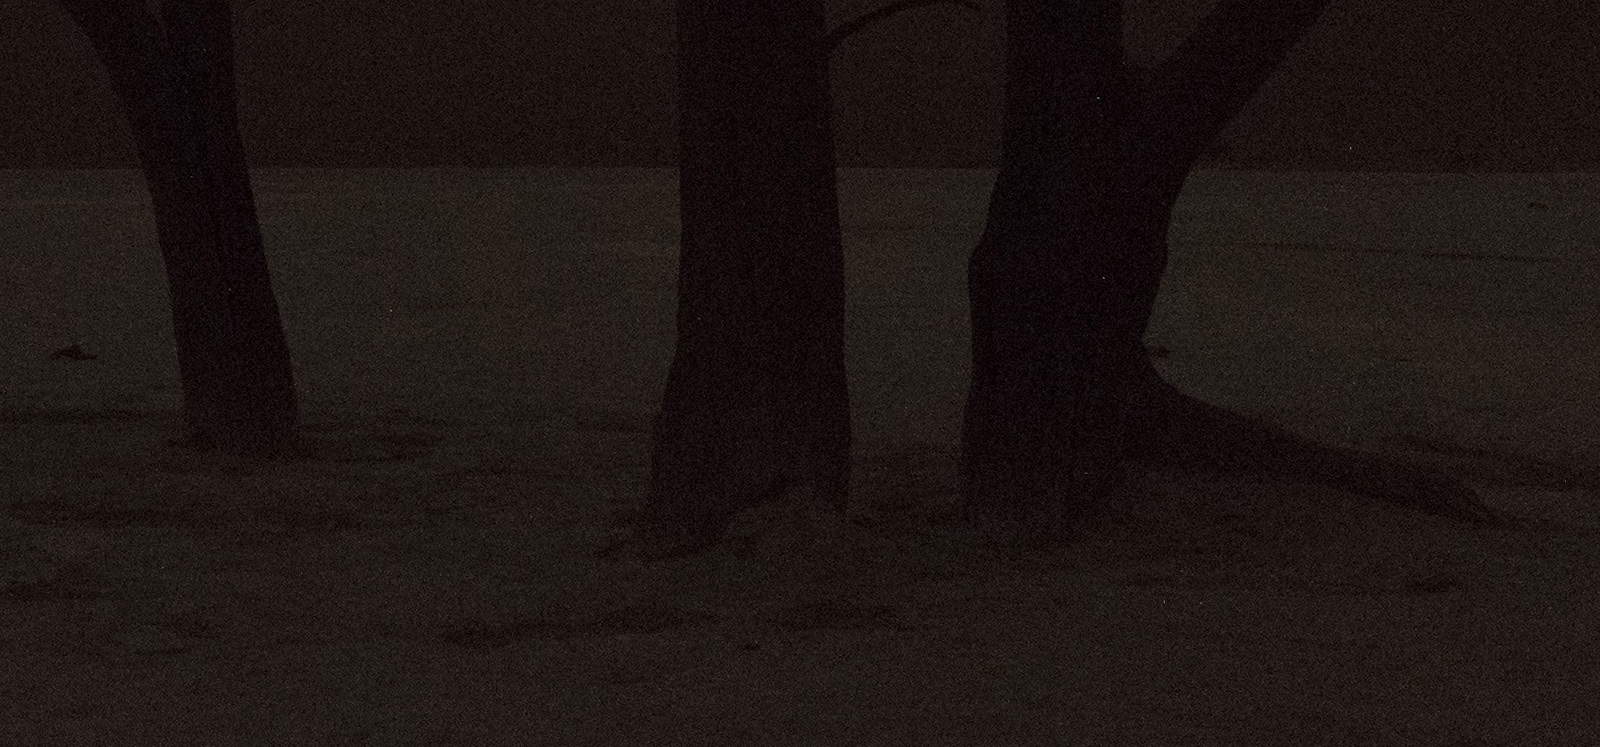
The problems become apparent when you zoom in and look at the foreground. In the 100% crop of the image below we can see the graininess of the tree trunks, the dried earth ground and the sand dunes behind.

ISO 6400. The noise present in the foreground is obvious. Dropping to a lower ISO, say 3200, would improve this require a longer exposure, blurring the stars.

At ISO 6400 the noise present in the foreground is obvious. Dropping to a lower ISO, say 3200, would improve this but also require a longer exposure, blurring the stars.

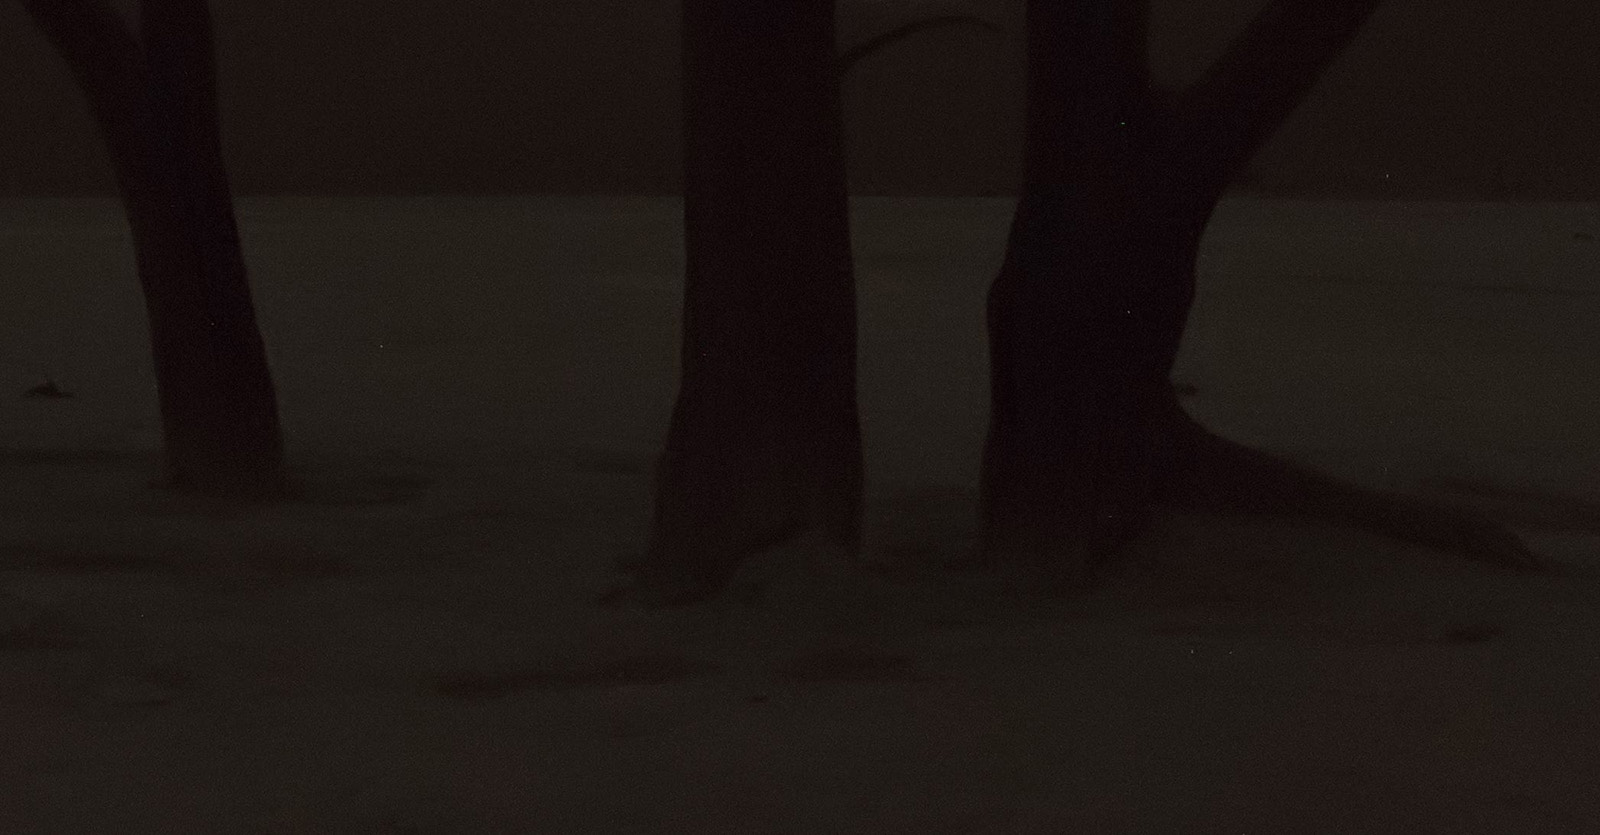
In the past my only option would have been to use Imagenomic’s Noiseware plugin so let’s see if that helps.

Noise can be removed via tools, but they remove detail too leaving an unnatural smoothness.

Noise can be removed via tools, but they remove detail too leaving an unnatural smoothness.

The noise has definitely gone but so too has all the detail. Unnatural and, again, unprintable. Of course I could drop the ISO speed to something more sensible, say ISO 400, and then compensate for the lower sensitivity to light by increasing the exposure time.

Showing the shutter to 240 seconds and lowering the ISO gives us low noise detail.

Showing the shutter to 240 seconds and lowering the ISO gives us low noise detail.

That’s much better! Very little noise and lots of detail. But with a four minute exposure the stars, well, they’re not stars anymore – they’re streaks!

This image looks unusable but the foreground is low noise and detailed.

This image looks unusable but the foreground is low noise and detailed.

The answer is course simple: Take two images – one high ISO, short exposure for the stars and one low ISO, long exposure for the foreground – and merge them together using the masks feature of Photoshop. The issue is how do you create an accurate mask that separates the foreground from the sky when the trees are such an irregular shape. The lasso tool would be one option but it’d be a real pain to build a mask with additive lasso selections. You could manually create a mask using the brush tool and white and black ink, but that would take ages and never be truly accurate. And just to highlight a point I made above: I didn’t know Photoshop a month ago – I didn’t know that selections could be additive, I didn’t know how the different lasso tools worked. In other words I would have been stuck with an uninspiring image of a stunning location.

The Kung Fu

What Emil and the workshop gave me is two things. The first is an idea of how to photograph a scene for astrophotography – and the number of shots needed. The second is how to compile these individual images into the final shot.

Once you know the process it is easy to capture the individual images needed, of which there are actually four. The exact settings will vary depending upon location and the brightness of objects in the sky and foreground but as a starting point:

  1. An ISO 3200 (or ISO 6400), 20-30 second image at f/4 for the stars.
  2. An ISO 400, 240 second image at f/4 for the foreground with no light painting.
  3. An ISO 400, 240 second image at f/4 for the foreground with the trees painted by a torch.
  4. An ISO 400, 240 second image at f/4 with the lens cap on.

Of these four images, (1) and (3) appear in the final result and (2) and (4) are there to help build the final image. Image 1 is, as mentioned, taken to capture the stars as pin-pricks. Image 3 is the ‘foreground interest’ shot: low noise and good detail with some light painting to pull the eyes to aspects on the image and make it less flat. Image 2 is essentially the same as image 3 but not lit so that the foreground is dark to separate it from the sky. You could perhaps use image 2, but the light painting would bring the brightness of the foreground up to that of the stars which would hamper the next step. Image 4 – the one of the lens cap – is a dark frame. Any camera sensor running a long exposure will produce pixel glitches usually as coloured pixels. The dark frame captures just these glitches and can be used to remove them from the final result through subtractive masking.

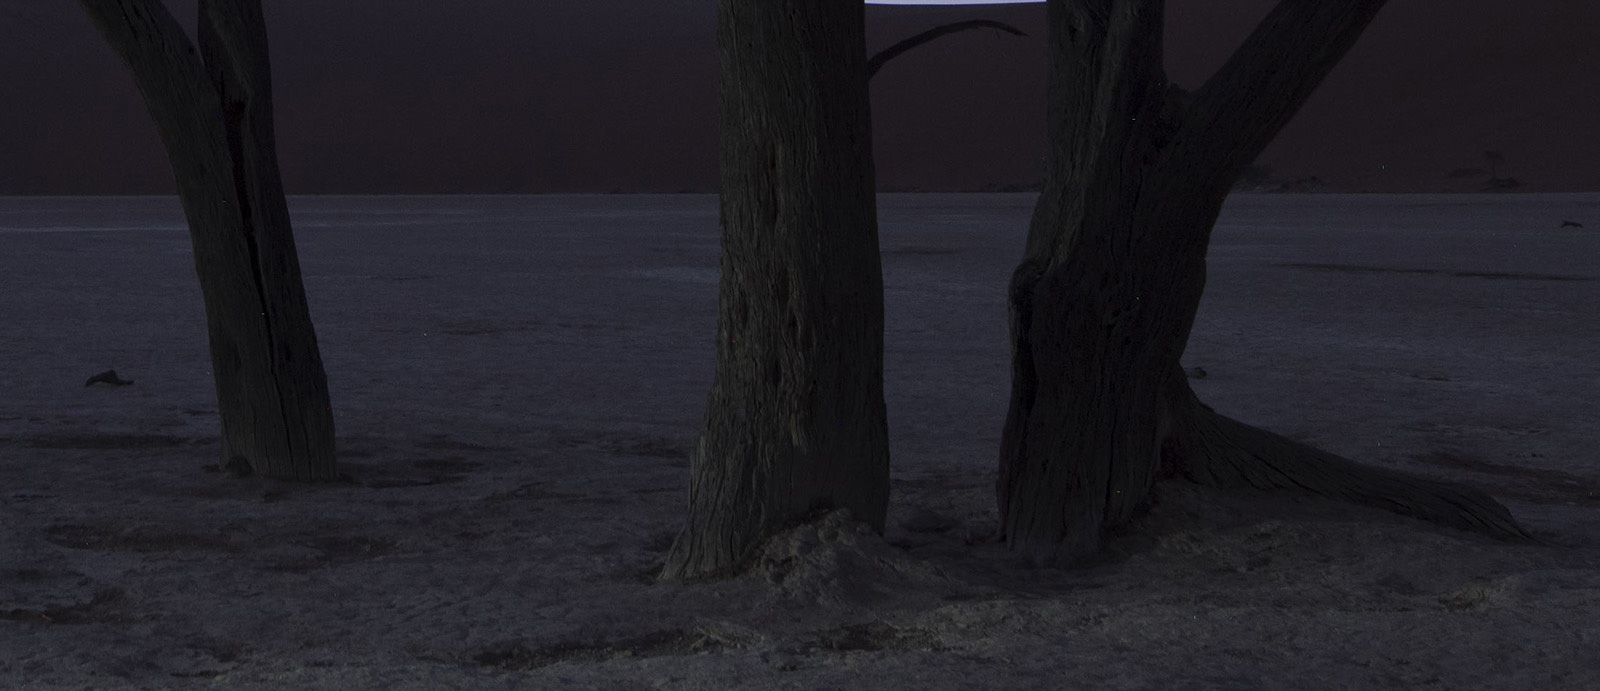
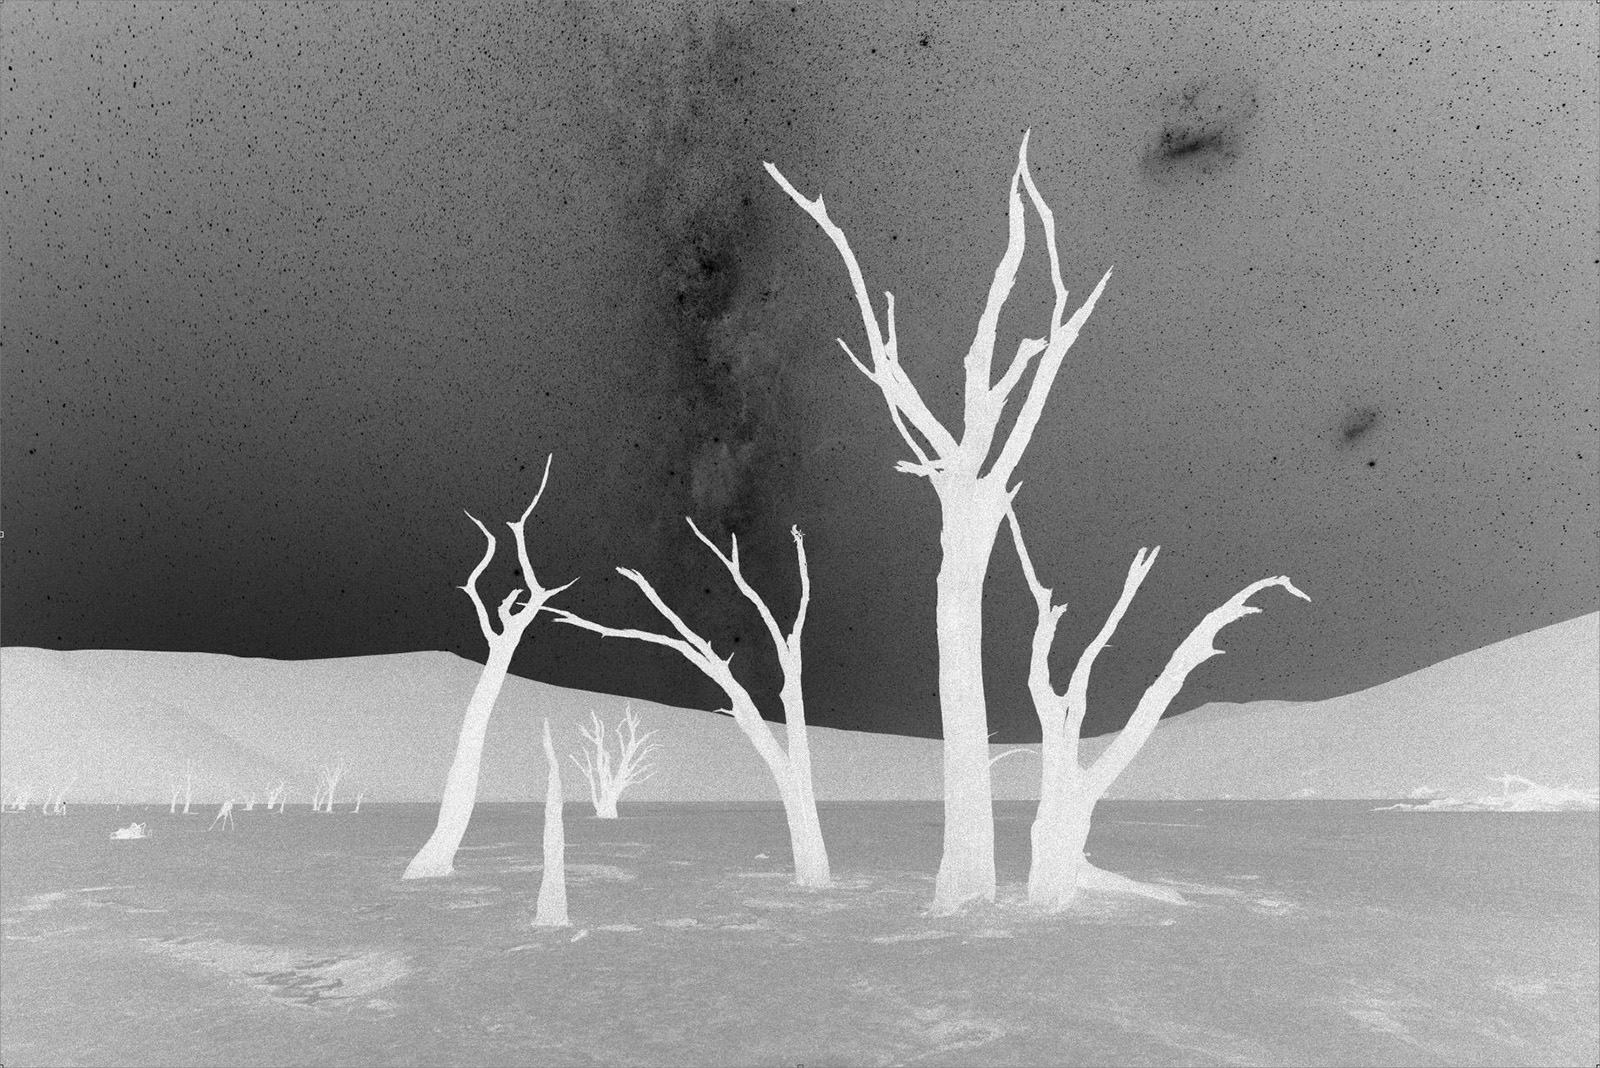
The Kung fu that stitches these separate images together into the final result is Photoshop’s luminosity masks. Luminosity masks are difficult for me to explain simply as I don’t fully understand them, but in essence they allow you to create a mask not based on a shape (like the brush tool or lasso tool would) but on the brightness (or darkness) of the image. This is where image (2) is useful; the sky is bright due to the stars, but the foreground is dark. Here’s an example luminosity mask that is looking at the darkest parts of the image:

luminosity mask 1 1600px

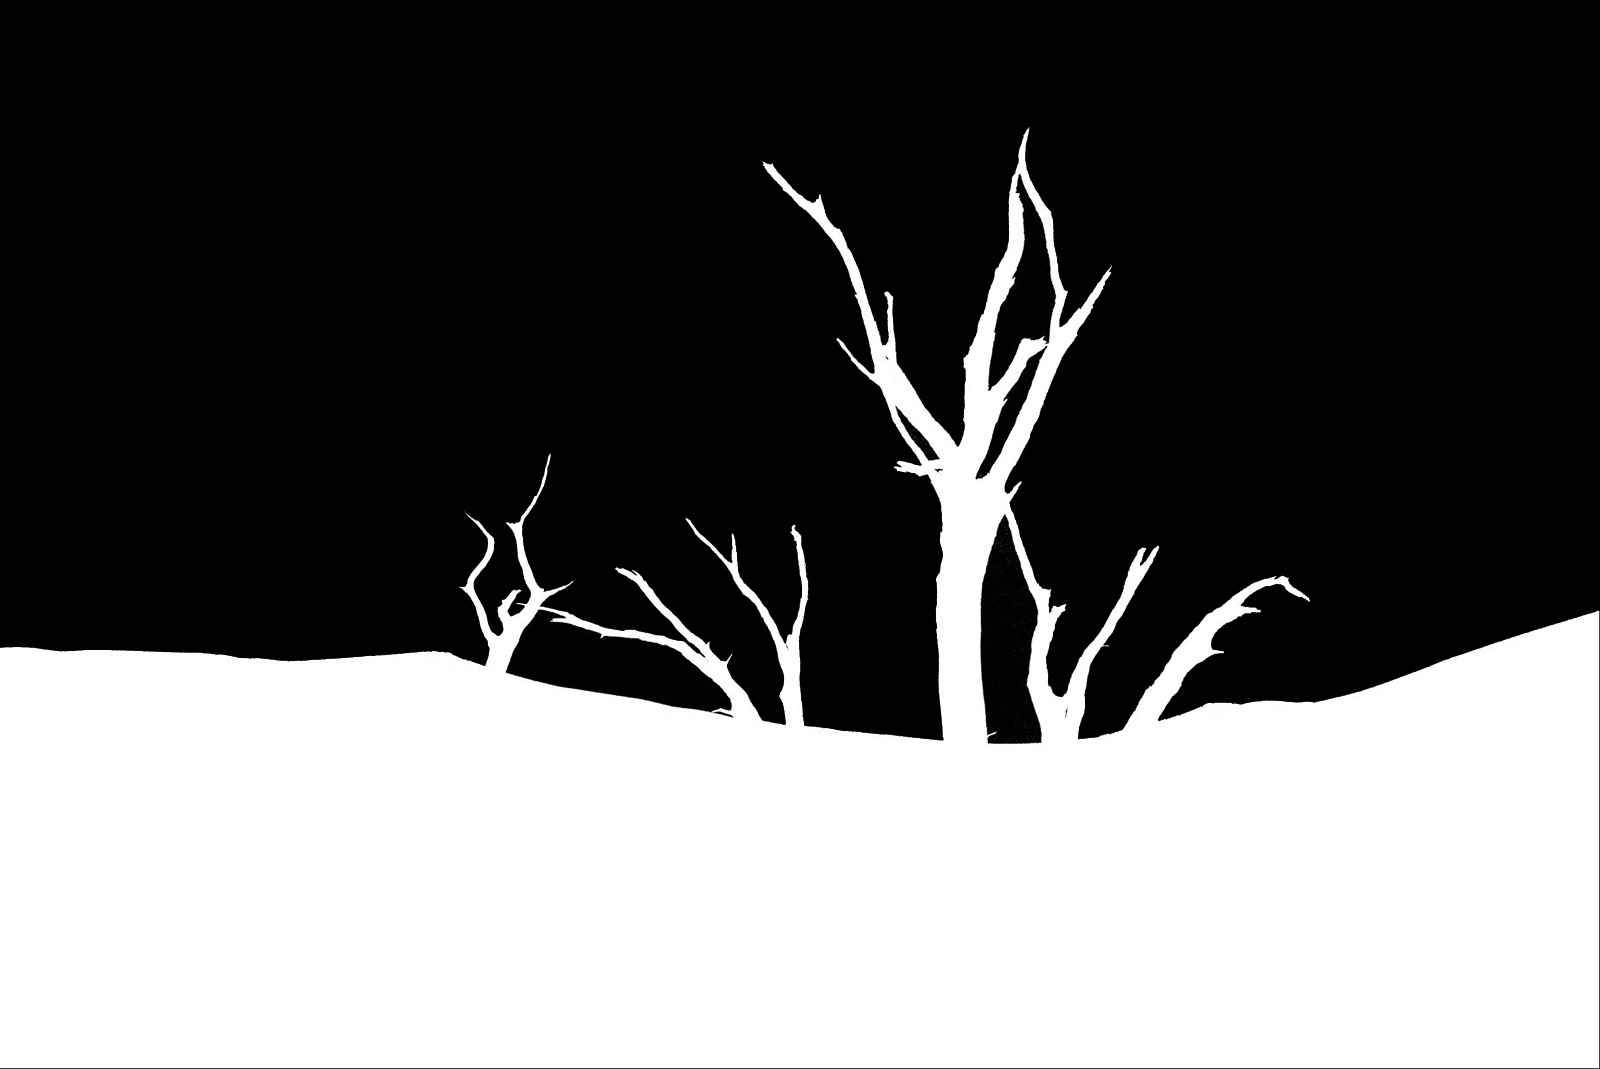
It is perhaps counter-intuitive but white shows the dark bits here simply because white shows the selection we are making and the selection in this case is the dark components of the image. Because image (2) purposely had no lighting on the foreground, it is in darkness and so it is added to the mask, but so too are parts of the sky because they are dark too. The mask is too detailed but it is easy to fix; once created a combination of a curves adjustment, the paint bucket tool and the brush tool allowed me to create a simpler – and more useful mask.

luminosity mask 2 1600px

I wanted the sky from one image and the foreground from another and I now have a very accurate mask that makes a distinction between the two. It is a simple procedure to load the images (1) and (3) as layers in Photoshop and apply the mask to image (3). Voilà – pin-prick stars and low noise, detailed foreground.

Once you understand luminosity masks, everything becomes possible. Want to brighten just the stars? Create a ‘brights’ luminosity mask? Want to make the night sky cooler, more blue? Invert the foreground mask we created and apply it to a blue photo filter. The result?

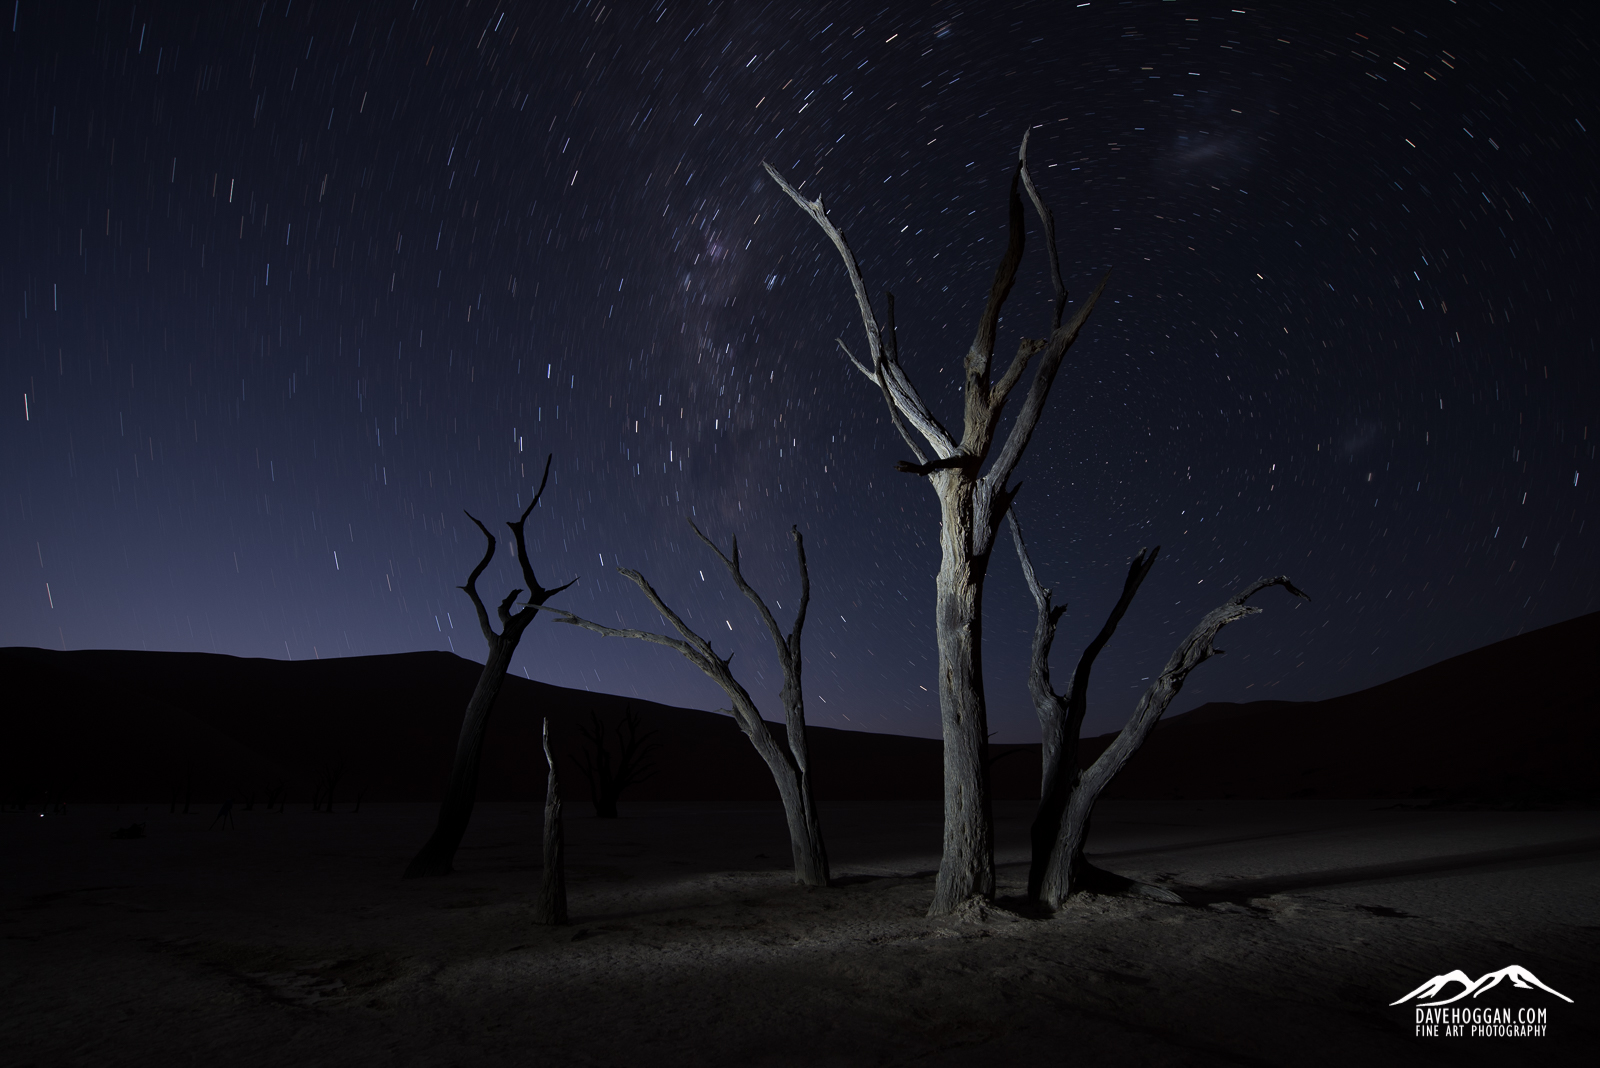
The final result. almost. Despite all the apparent Photoshop trickery, this is what my eyes were seeing on the night.

The final result. almost. Despite all the apparent Photoshop trickery, this is what my eyes were seeing on the night.

What impresses me most as I write this article is that, less than a month ago, I would have had no idea about any of the steps mentioned. I avoided Photoshop as I did not understand it, barely understanding the concept of layers and masks, but certainly not enough to use them properly. Could I have learnt this online? Maybe. I have tried in the past, but I don’t learn by listening; I learn by asking and doing. Now I know how to shoot the raw images and how to merge them into a single vision.

So, like Neo I now see that I can control the (photographic) World around me. It is a new skill and one with plenty of room to improve and develop. It’ll be a long road.

But isn’t that the fun part?


Posted in Frame by Frame, Process Also tagged , , , |

Quiver Tree Forest, Namibia

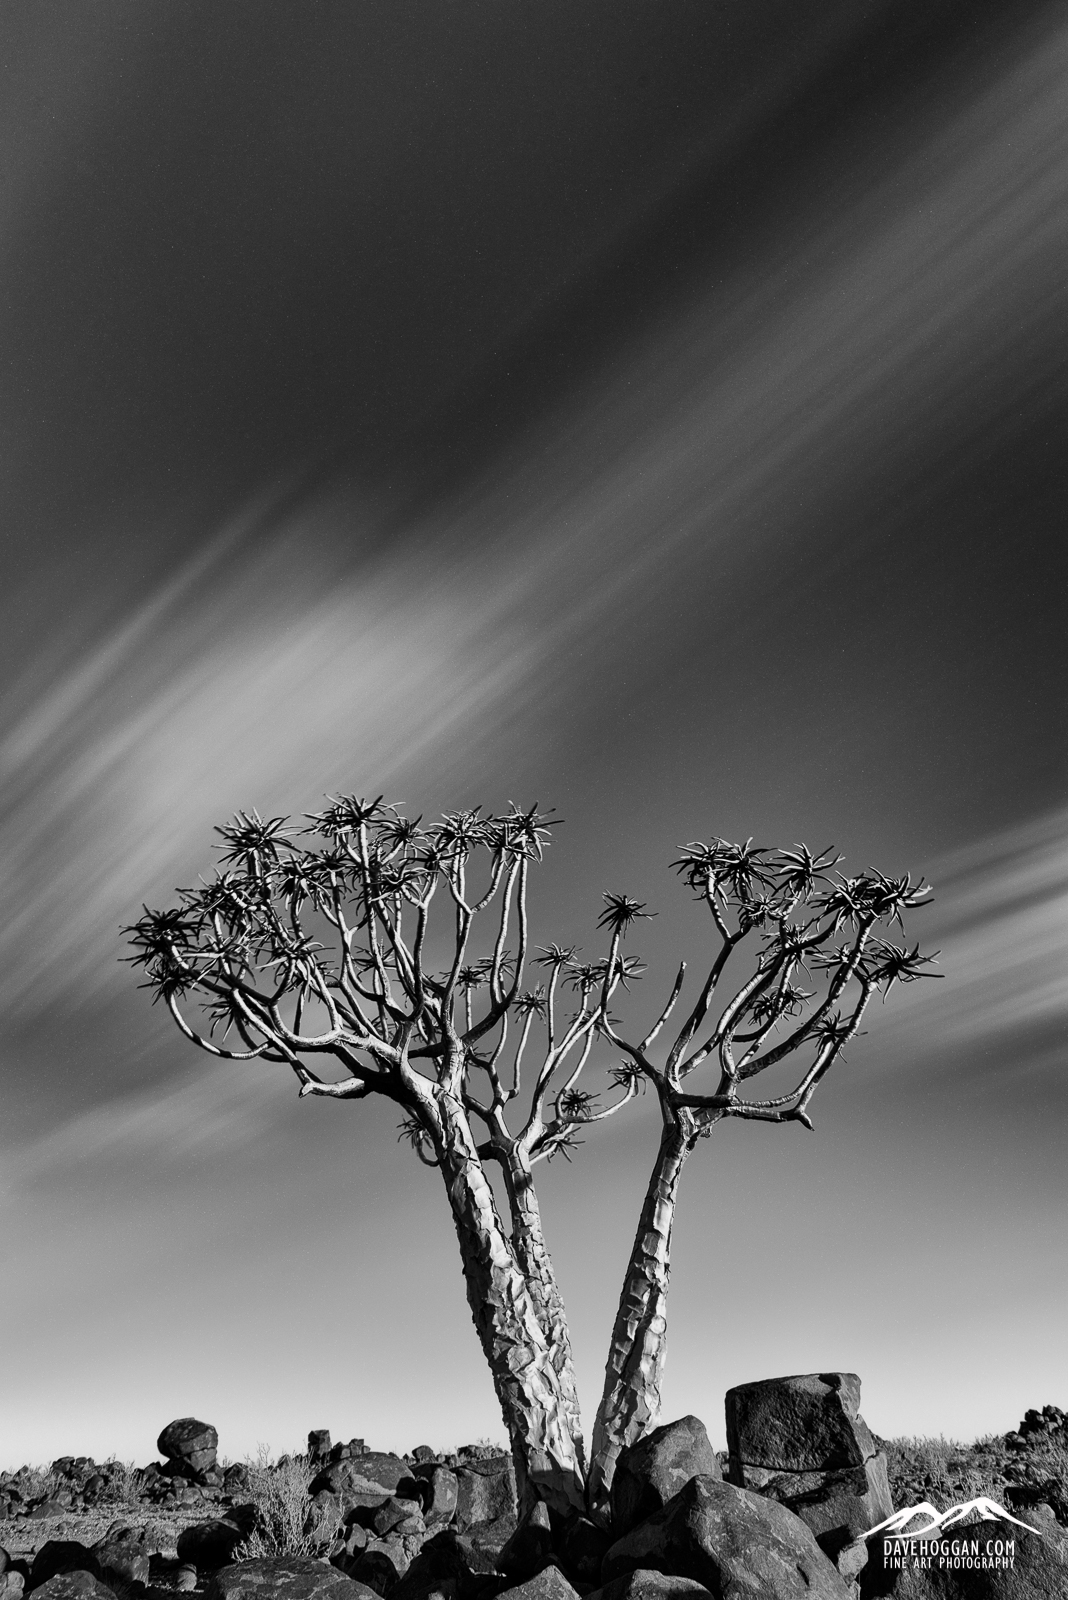
The Quiver tree forest near Keetmanshoop in southern Namibia likely won’t win any awards for accurate advertising.

For a start, they’re not really trees – they’re aloe – although decades and, in some cases, centuries of growth have seen them rival trees in size and shape. Second, to call it a forest is a bit of a stretch and even the moniker ‘wood’ would be a little over optimistic. Still, you can wander between them and when I was trying to find a lone quiver tree to photograph there was always at least one lurking on the background somewhere. But they do quiver, although Wikipedia suggests that the name comes from the fact that local bushmen used their branches to make quivers for hunting.

We were out for our final visit to the forest with the aim of catching the light from the setting sun before settling in for an evening of astrophotography. As I wandered further away the already sparse trees became more isolated and I was immediately struck by a three-trunked tree close to the edge of a plain extending, empty and unyielding, into the distance. The light wasn’t great and the sky was a clear and featureless blue but I made a note to walk back past this tree in a couple of hours thinking that I could add interest to the sky by using a polariser to bring out different shades of blue and then convert to black and white.

Upon my return I have to say that I was pretty happy to find that the sun was now low enough to cast areas of shadow around the tree and light up the wonderfully textured bark. I was even more happy to see that not only were there finally some clouds in the sky but the wind was moving quickly enough for them to blur on a long exposure. In fact, I may have even performed a mini fist pump at my luck, but with no one to witness it, I still have plausible deniability.

The only downside of the 30 second exposure and the wind blowing the clouds across the sky is that I discovered the other reason why the trees are called quiver trees.

Quiver #1 1600px


Posted in Frame by Frame Also tagged , , , |

Gatklettur, Iceland.

Whilst in Iceland earlier this month my time on the Snæfellsnes peninsula was frustrated by some decidedly wet and windy weather, so windy that on some days the water of the waterfalls was being blown straight back up the cliff face back to where it had just come from. When it wasn’t raining or blowing so hard that it defied gravity, the sky was usually a rather dull and featureless white due to the clouds gathering around the high mountain peaks.  So, when the cloud cover broke and some level of detail returned to the sky it was a bit of a mad dash around the peninsula to visit some of the more interesting sites.

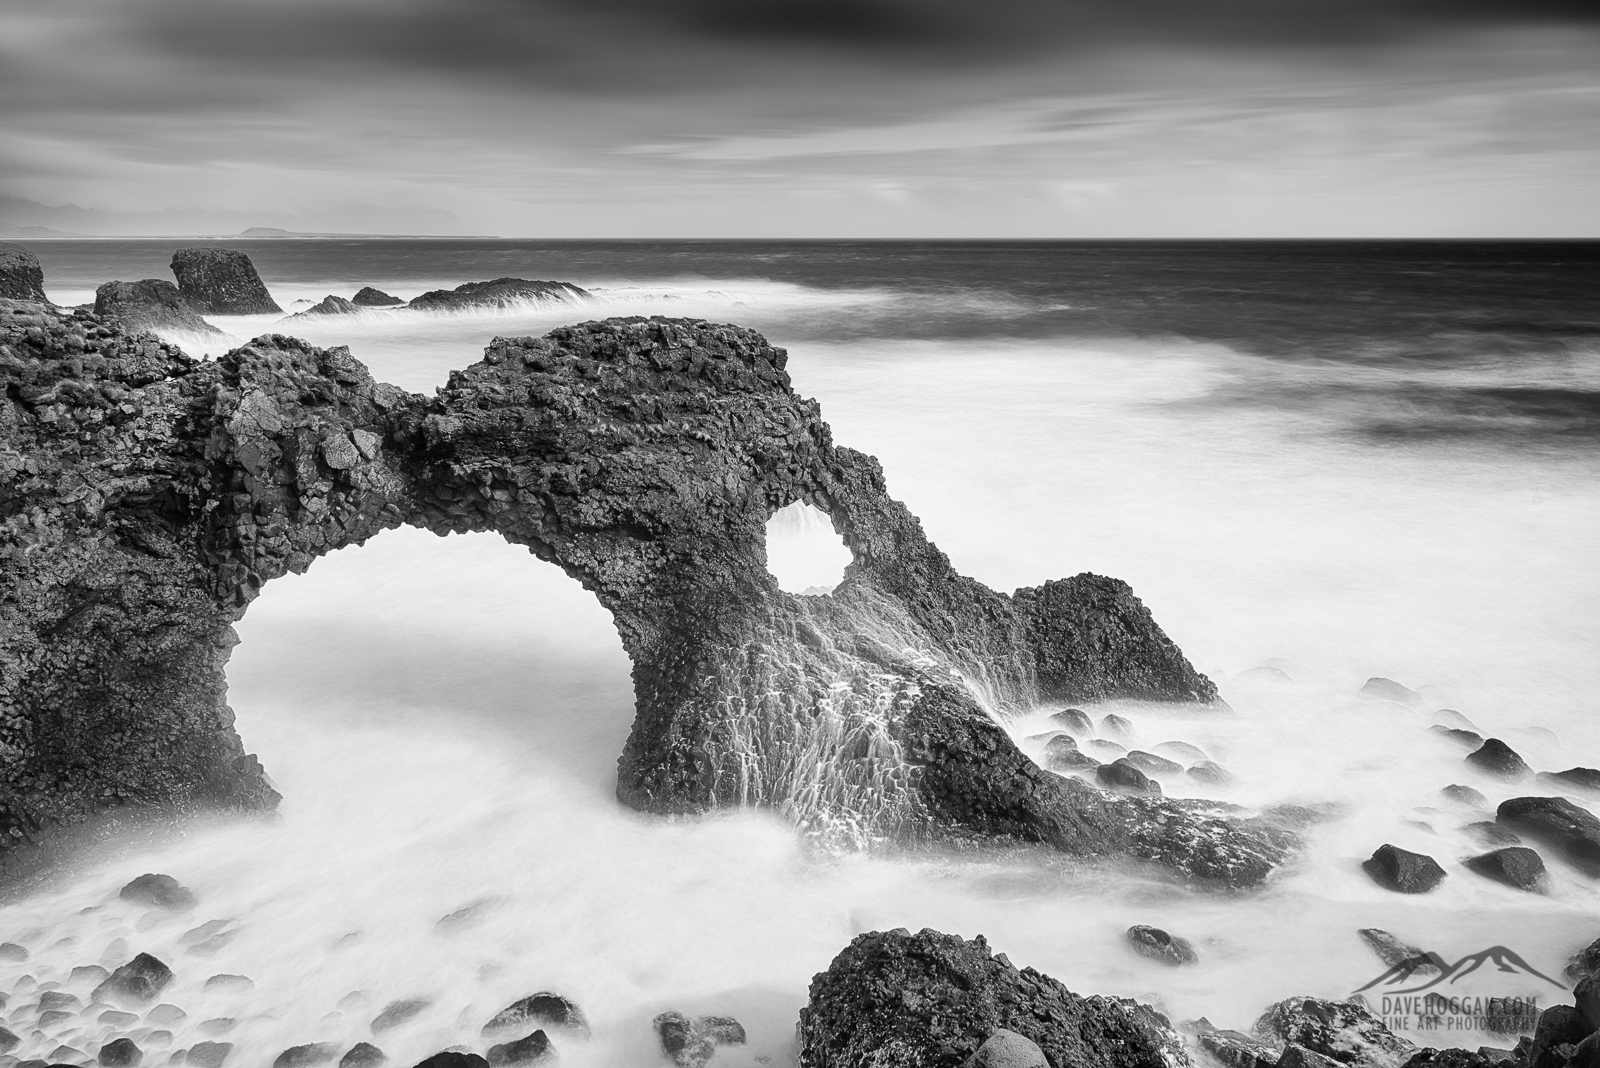
Once such place is Gatklettur, a rock arch walking distance from the village of Arnarstapi on the southern coast of the peninsula. There is a gentle hike along the coast between Arnarstapi and Hellnar that has some wonderful rock formations, but Gatklettur is perhaps the most visually interesting with its horseshoe arch and near perfectly circular ‘window’. It is frequently photographed and it is really tempting to photograph it as an incoming wave crashes against its seaward side and water erupts from the circular hole. So I did.

But I favour this, the aftermath where the white foam of the water cascades down the basalt rock, picking out a path over the jagged steps.

Gatklettur, Iceland

Posted in Frame by Frame Also tagged , , , |