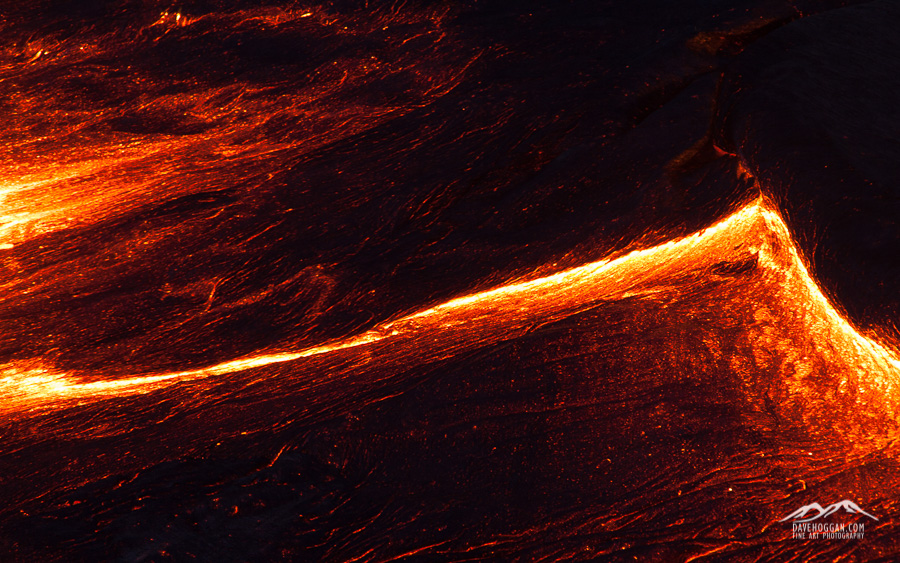
The ever-changing surface of the lava lake at Erta Ale guarantees that you’ll never take the same shot twice. But be warned; staring at the lake’s surface can become almost hypnotic.
It has been very quiet around here for a few weeks simply because work has been insanely busy. I’m an IT security professional by day and right now I’m currently managing two projects that are well underway and all my time is split between them with the thousand different technical and operational queries that clients raise during the deployment phase. All my other work therefore has to fit into the gaps and the evenings.
Of course there is always a benefit to being so busy and one is that I have been working on one client’s site or another over the past few weekends and the travel fund has slowly been growing! So, despite feeling a little weary right now I do have something to look forward to: the next photography trip!
As mentioned in a previous post, Siberia is planned for 2017. The photographer running that – Alexey Trofimov – has suggested dates around the end of February and so whilst I’m really excited about working alongside him I need something a bit sooner.
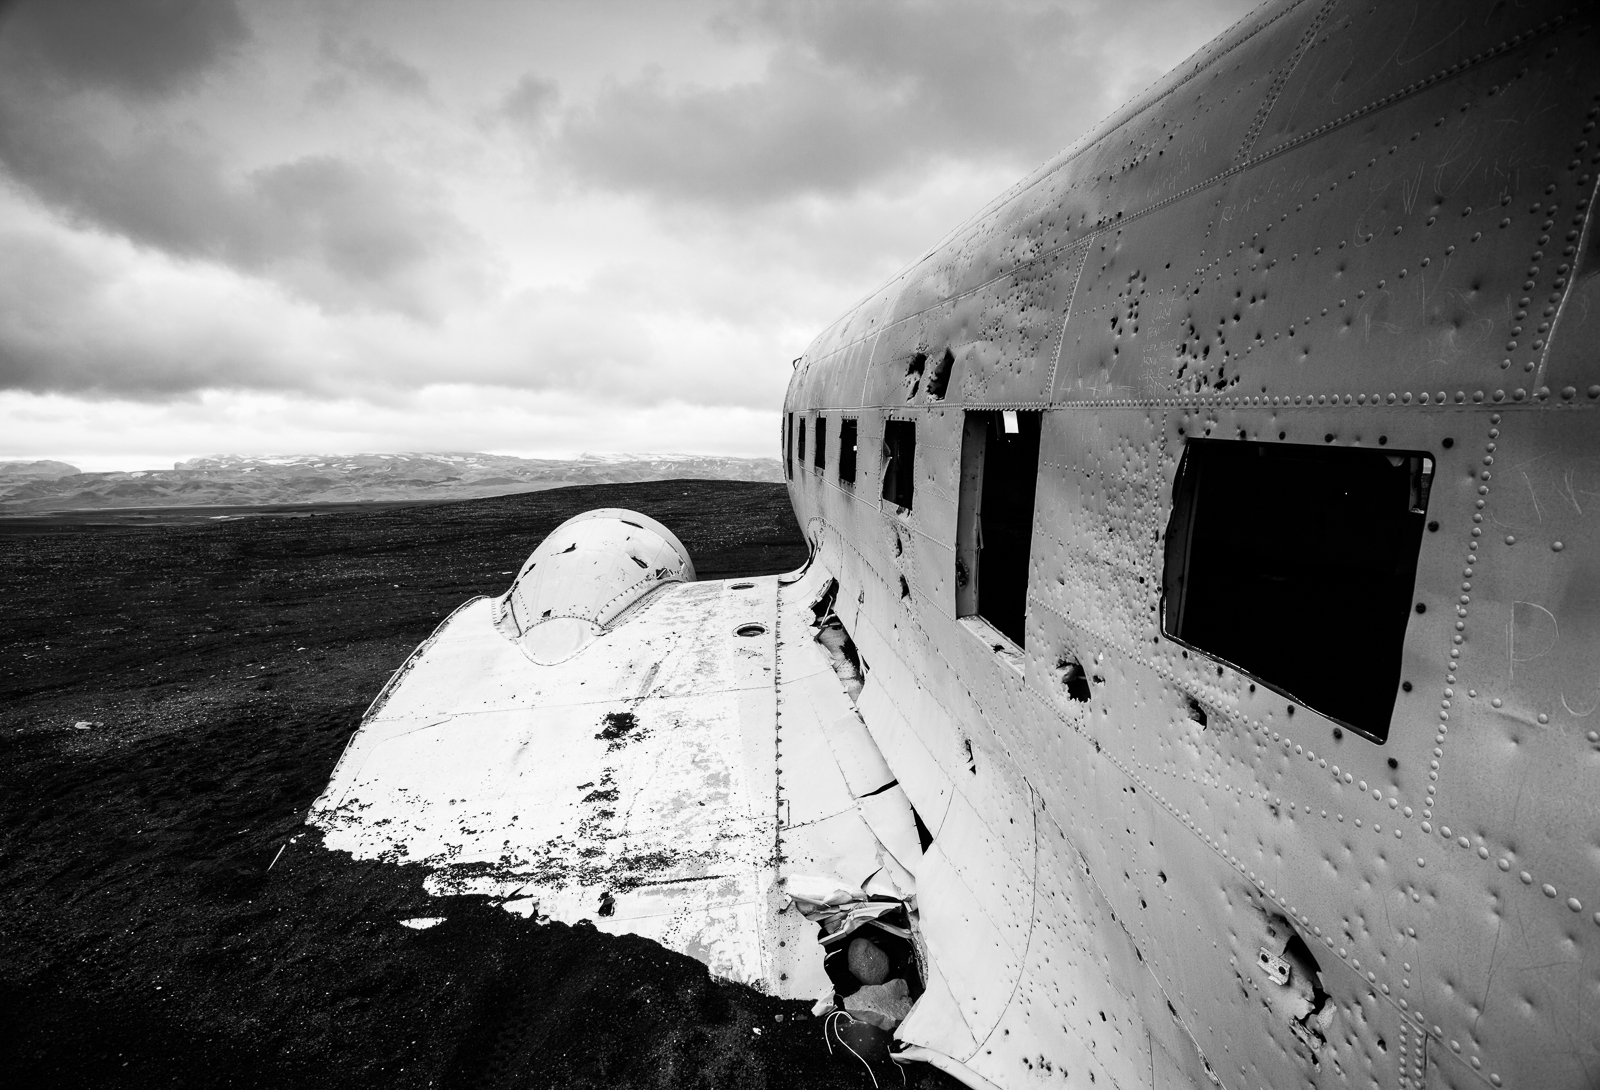
The next option is to return to Iceland. I have an image in my head that I can’t get rid of and so I can see a week or two spent driving along the southern coast. Iceland is an easy trip; one I really do not have to think about but again, I want to go late in the year, when it is colder – perhaps November or early December. Again, I can’t wait.
So, the current plan is 18 days travelling through Java on a volcano hunt. The people who organised the trip to Ethiopia, Volcano Discovery, have a photographer-centric trip in September and over the past few weeks I’ve been talking to them about adding a custom extension. If all goes well I should be climbing Krakatoa in just under 80 days!
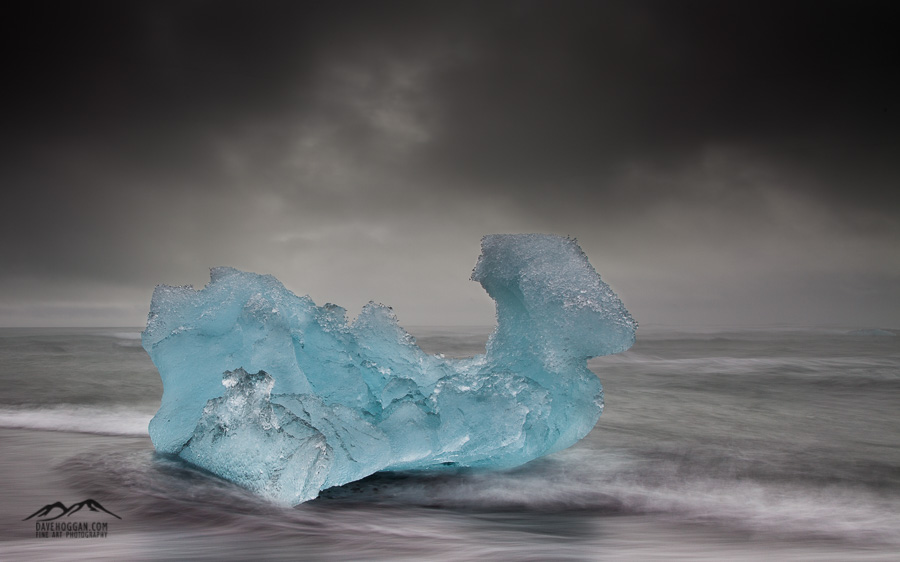
After the heat of Java’s volcanoes Iceland will be a nice halfway-house before the -25°C expected in Siberia.


![One of the many short stops you'll make over the next 13 days. The trip is all about volcanoes and geology and with a trained geologist for a guide you'll certainly learn about geology... [Click to enlarge!]](http://davehoggan.com/wp-content/uploads/2015/01/MG_9702.jpg)
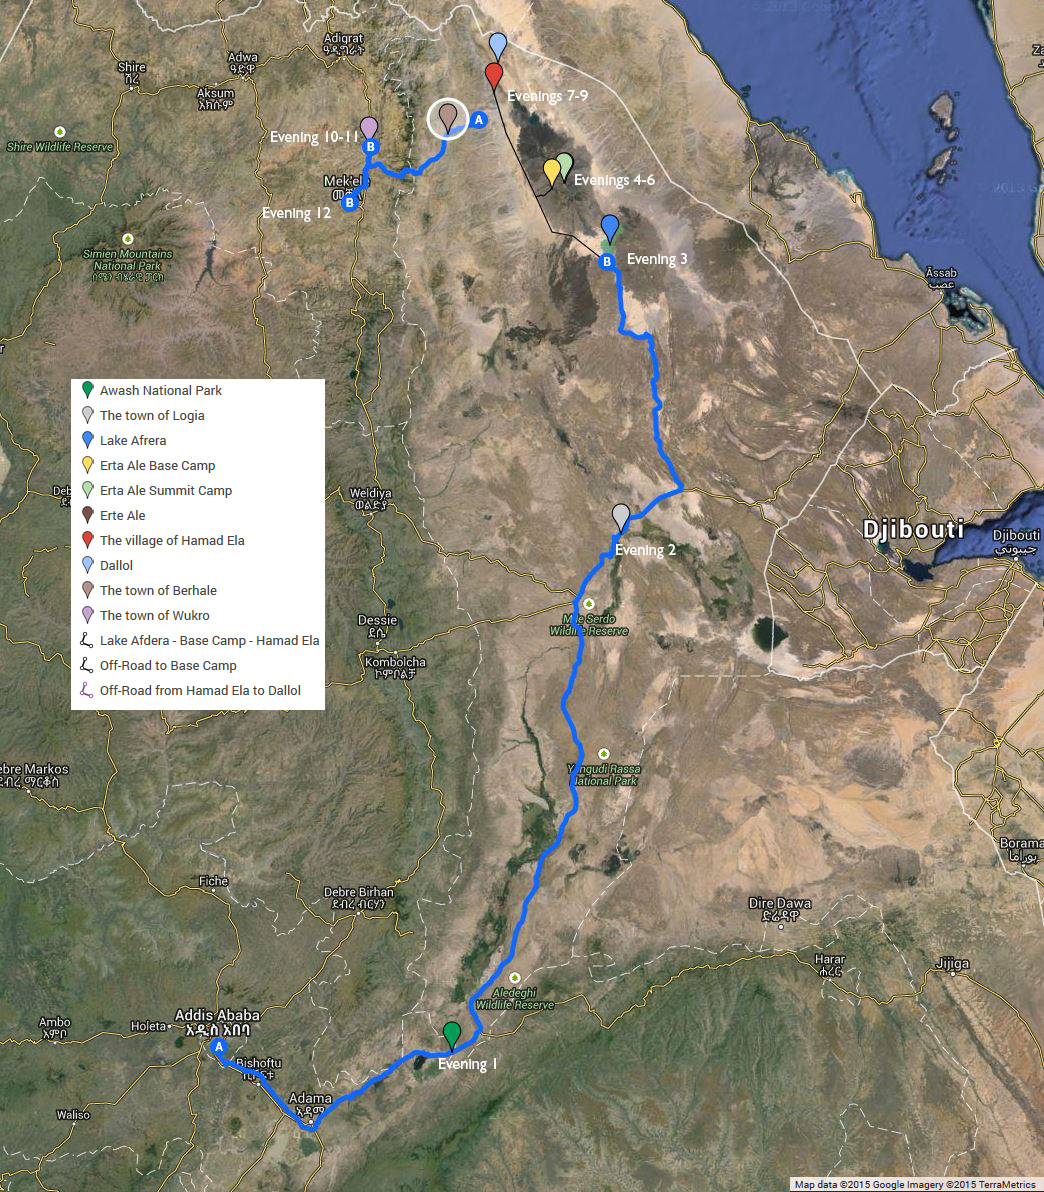
![The first day's travel was along route 4 to Awash National Park covering a stretch of approximately 200km... [Click to enlarge!]](http://davehoggan.com/wp-content/uploads/2015/01/Day-1-Route.jpg)
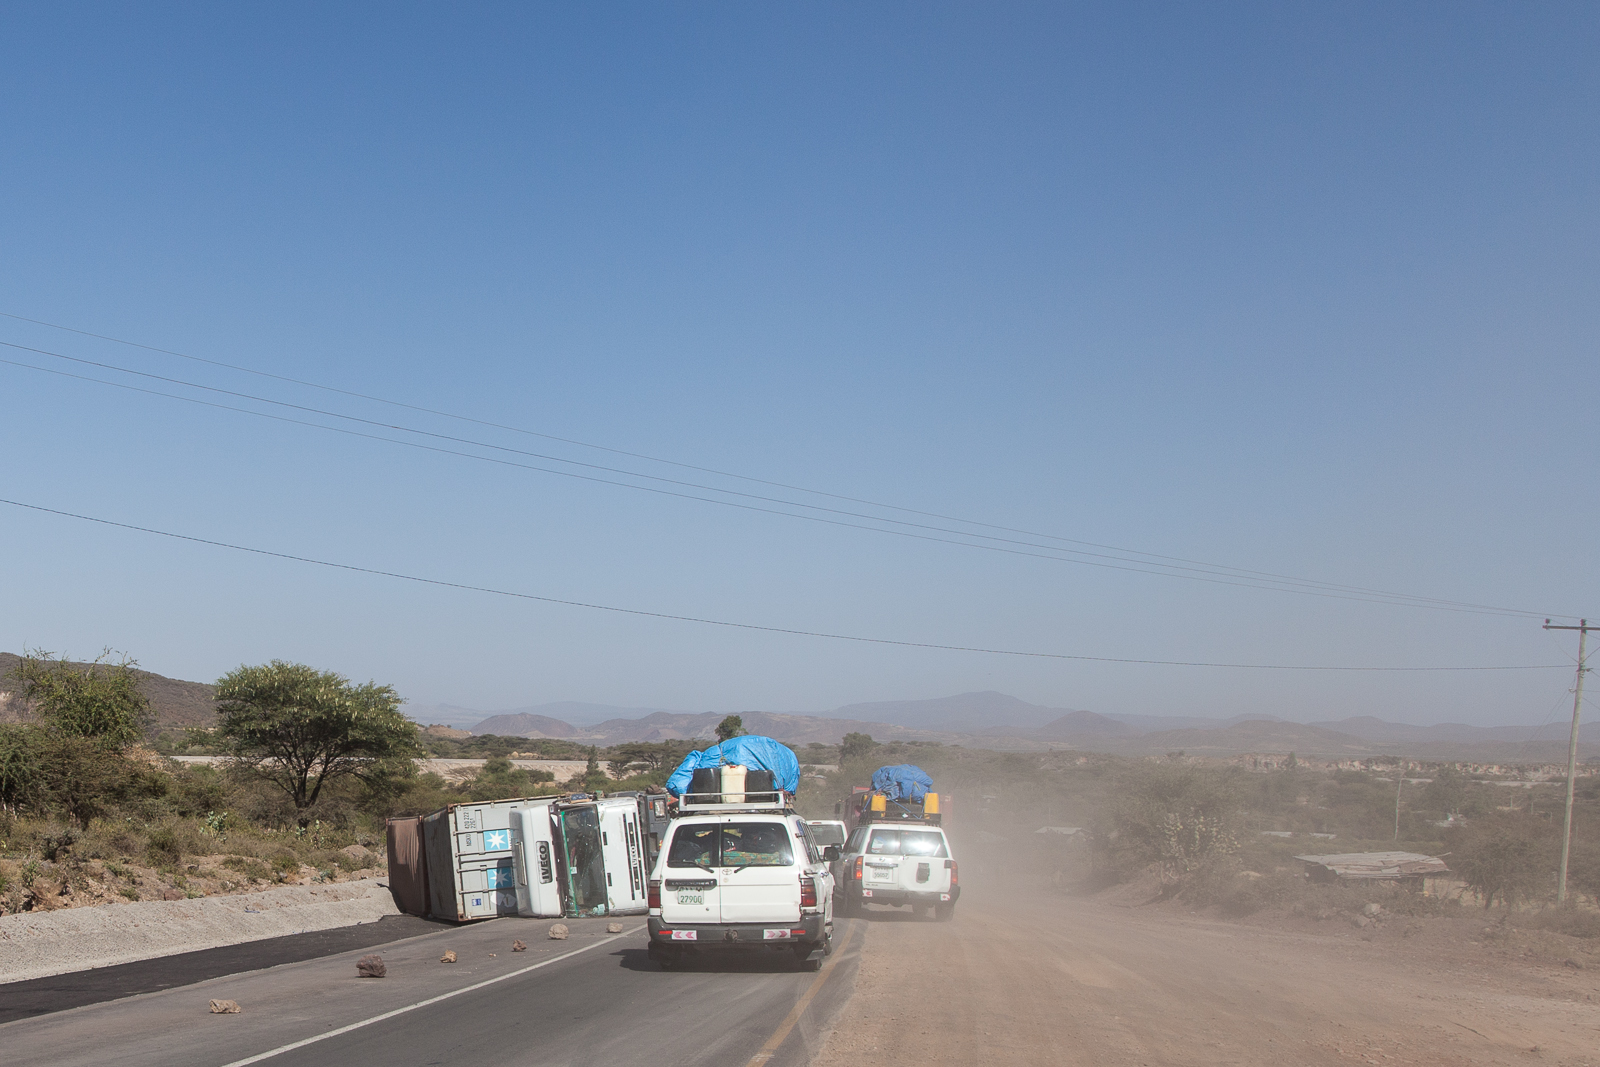
![On the first day of driving we saw in the region of 20 overturned trucks. [Click to enlarge]](http://davehoggan.com/wp-content/uploads/2015/01/MG_9700.jpg)
![Day two is more time in the 4WD vehicles covering distance... [Click to enlarge!]](http://davehoggan.com/wp-content/uploads/2015/01/Day-2-Route.jpg)
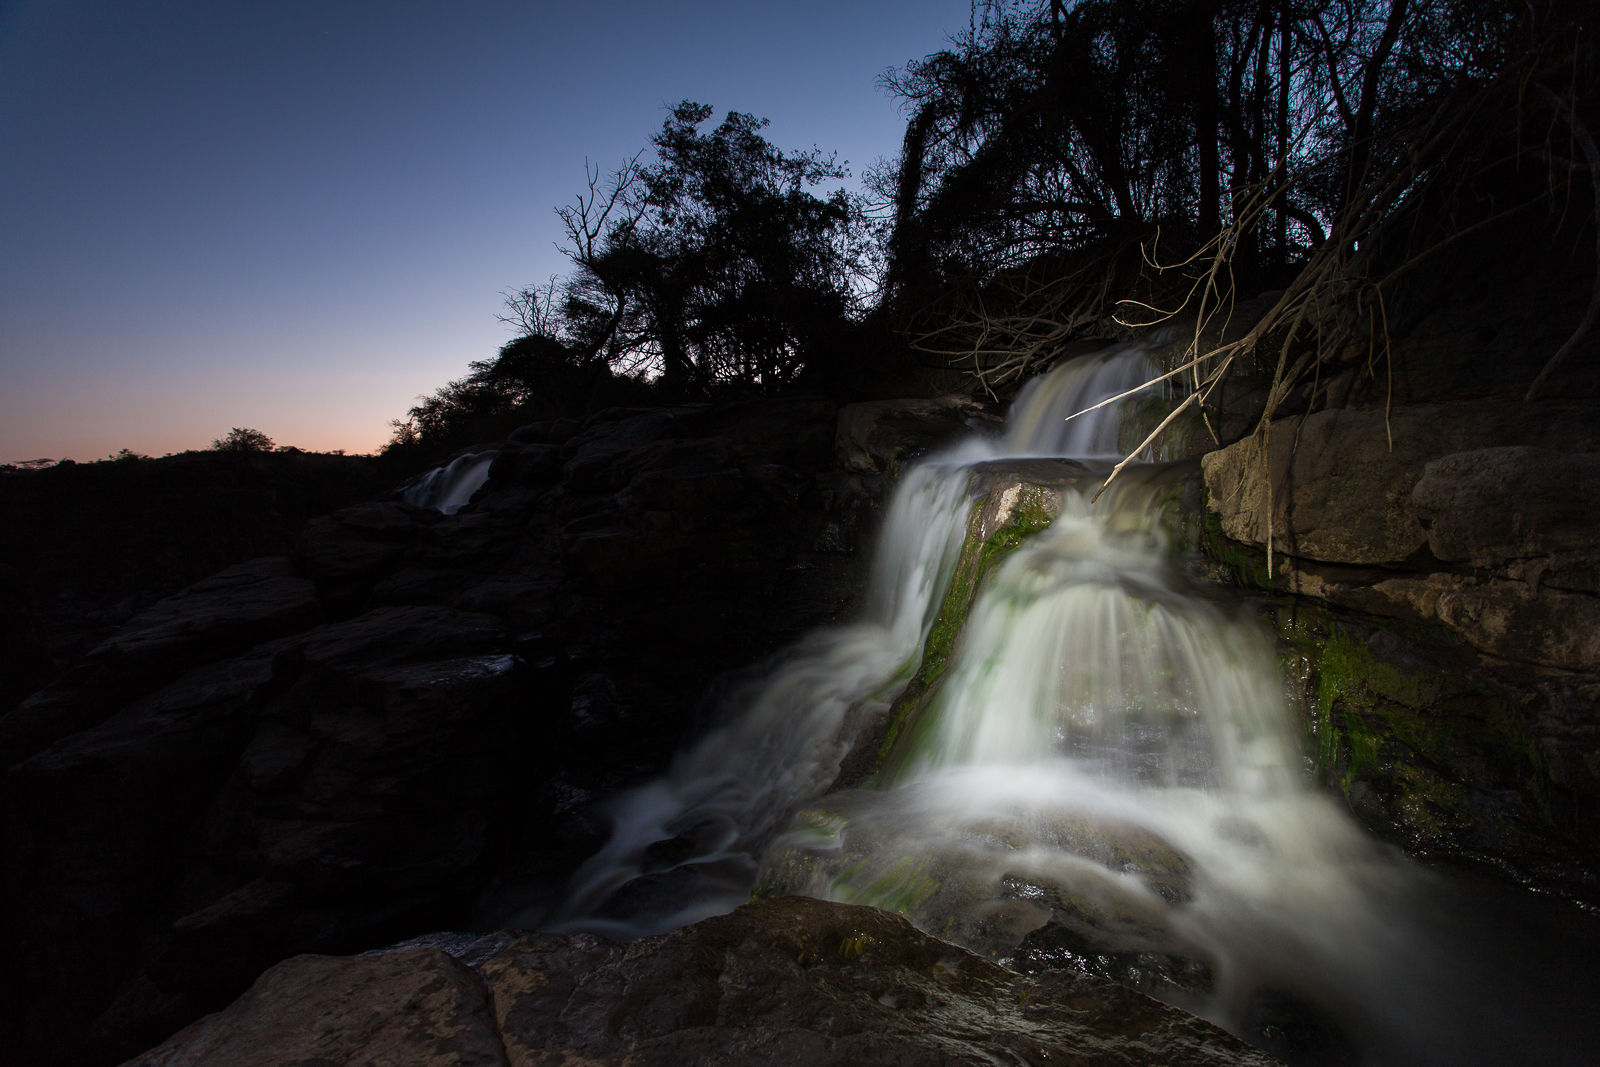
![If you're looking to get some quality wildlife photography this may not be the trip for you. We spent a couple of hours in Awash national Park and saw relatively few animals... [Click to enlarge!]](http://davehoggan.com/wp-content/uploads/2015/01/MG_0816.jpg)
![Today you'll get to stop in one of the road-side towns that have grown around the busy transport link between Addis and Djibouti [Click to enlarge!]](http://davehoggan.com/wp-content/uploads/2015/01/MG_0878.jpg)
![The second day begins to show just how empty Ethiopia can be... {Click to enlarge!]](http://davehoggan.com/wp-content/uploads/2015/01/IMG_0102.jpg)