The last post had me enthusing about printing photographs, be they from a DSLR or a smart phone. The post was less about photography and more about keeping memories alive. It was also aimed at those people who are not particularly interested in photography – the most “at risk” group I believe – as photographers already understand the need to print, although perhaps for other reasons.
But interested in photography or not, whether amateur or professional, one thing is certain when we decide to print one of our photographs to hang on the wall: The cost of professional framing will take your breath away.
In the past I have simply taken my photographs to the picture framers at the craft centre at the end of my road – Neil was not the quickest, but the work was exactly as requested with a price that was nowhere near as high as other firms in the area. But Neil is no longer in business and so I have had to look around at my options.
My first choice was to use Loxley Colour, a very reputable firm here in the UK. But, whilst the price is, if not cheap, at least palatable, the frame was delivered with one of the mitre joints poorly joined and a small crease in the photograph. They have been very good and had a courier pick it up so they could make up a new one but that’s been an additional two weeks delay. In any case, the one thing that bugs me about their framing is that they insist on using acrylic instead of glass.
Of course, this is perhaps my fault. When I first started having my work framed a few years ago the initial frames came with normal picture glass which, aside from giving a subtle green tinge to images, is horribly reflective in the presence of spot light sources such as the sun, a table lamp or overhead lighting. I spoke to Neil and he recommended Schott Mirogard Waterwhite anti-reflective glass. It is not cheap but the results are fantastic and I have been a convert ever since. So looking at the acrylic used by Loxley Colour really leaves me, at best, underwhelmed.
So I was left with two equally unattractive options: Live with a finished product that, although reasonably priced, I wouldn’t be truly happy with or find a framer that could work with Mirogard and I’d swallow the cost. And, just to give an idea of the costs involved, a 13” by 19” (32.9cm by 48.3cm) image with a 2” (5cm) border would cost approximately £60 from Loxley Colour (with acrylic) or approximately £141 from another recommended framer, albeit with Mirogard. Ouch! But as with most things in life, there is always another option. Learn to do it myself…
I started with the question: How hard can it be to take a photograph and put it in a frame? I’d need a frame obviously. And glass. Perhaps a nice border around the photograph. I’d also need something to keep the photograph flat and rigid. Finally some bits to attach it to a wall. But other than that I really couldn’t think what else was needed. As it turns out, that is pretty much it.
It was an encouraging start but I have to be realistic. I am not known for my hand-eye coordination and anything that involves cutting, drilling or precision measurement in general leaves me in a cold sweat. Given that most ready-made frames are horrid things – and probably wouldn’t be available in the sizes I would need – I would have to make my own. Mirogard glass is specialist and usually sold by the sheet so would need cutting too. And those professional looking card surrounds with the lovely angled edges as in the image below will also require careful cutting. In other words, despite the concept of framing being quite straightforward, the actual process was going to be very tricky.
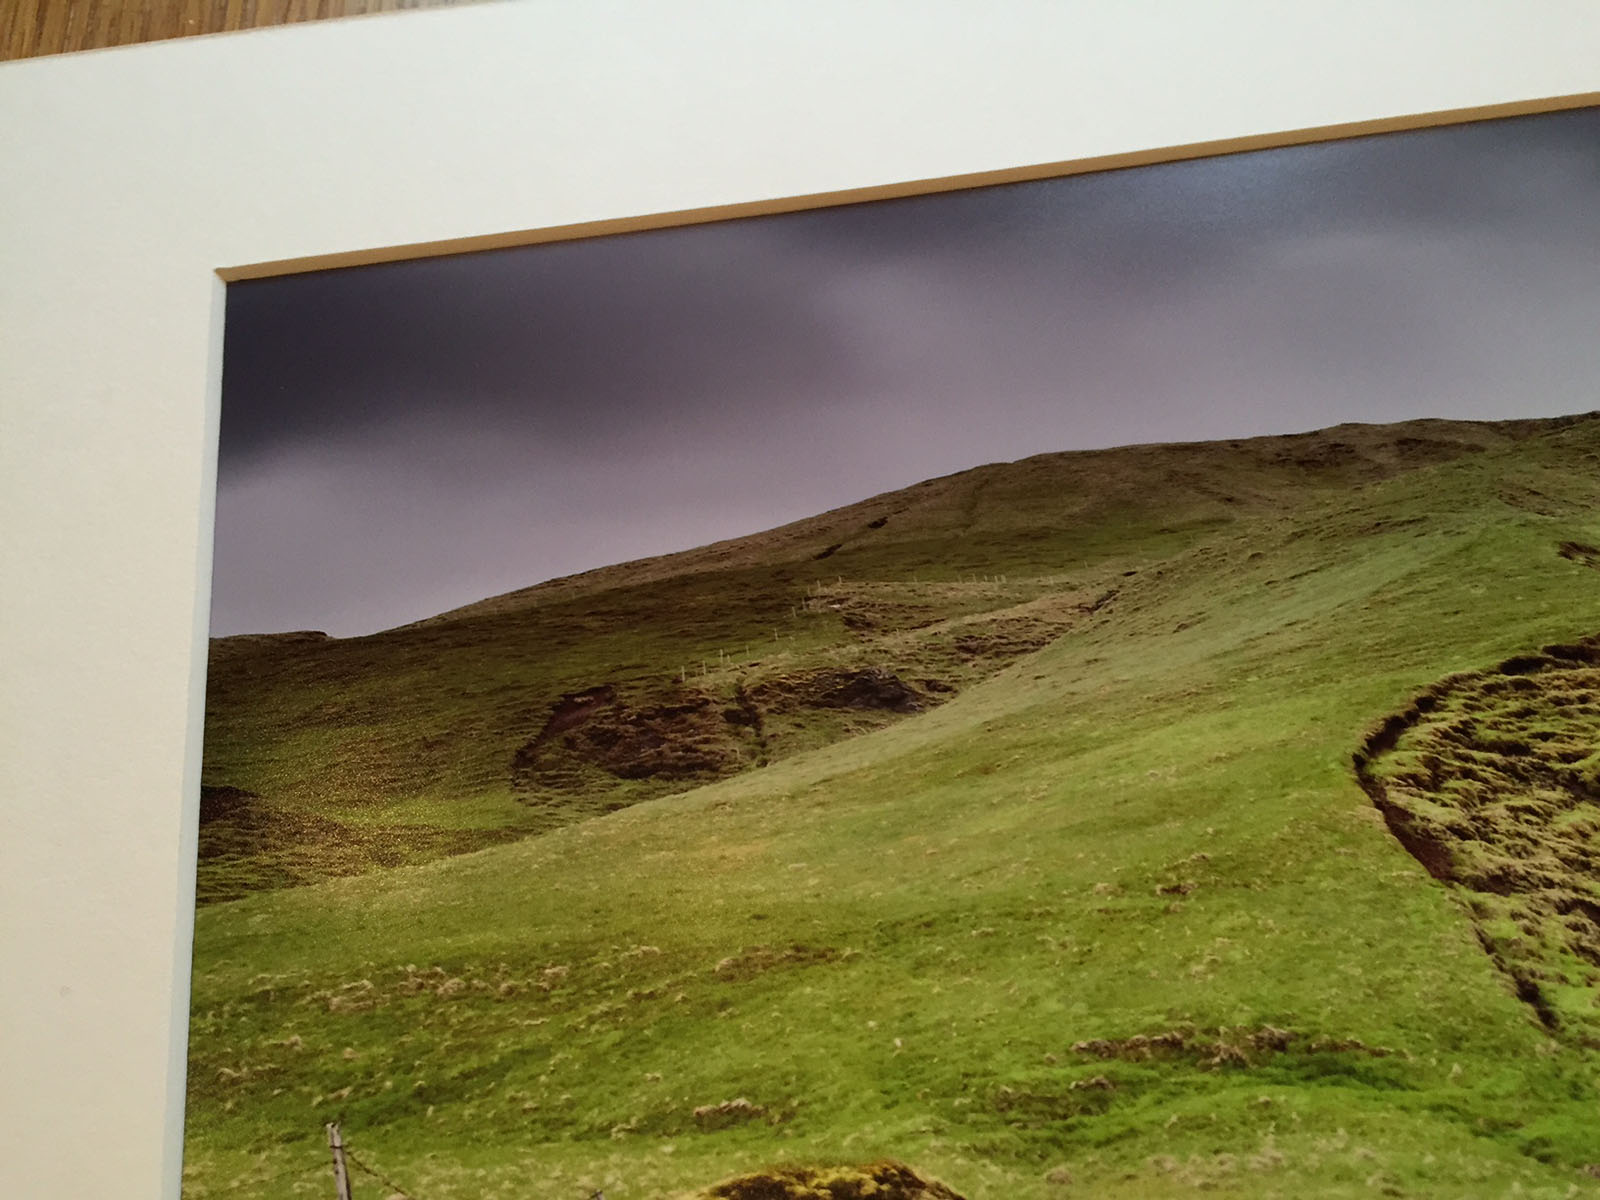
A border – often called an over mat or top mat – lends an air of professionalism to a framed image. And, as bad as my hand-eye co-ordination is, this was my first attempt… [Click to enlarge!]
But, undaunted I did some more research – including watching lots of useful videos on YouTube – and there are several options available to people like me that make home framing a realistic possibility. In fact I am so confident that it can be done at home that I have taken the plunge and invested in my first piece of kit.
Over the next couple of months I’ll be discussing everything needed to turn a raw photograph printed on an inkjet printer at home into a complete, framed product ready to hang on a wall. This is not going to be a series of “how to” articles – as a beginner myself I am simply not qualified to write them and, honestly, YouTube really has some good stuff – but what I hope to convey is that home framing is not merely a fantasy but instead is very possible. After all if, like me, the old adage of “measure thrice, cut once” simply means you end up with three different measurements, then seeing the results produced by someone with no previous experience may be just the encouragement you need.

