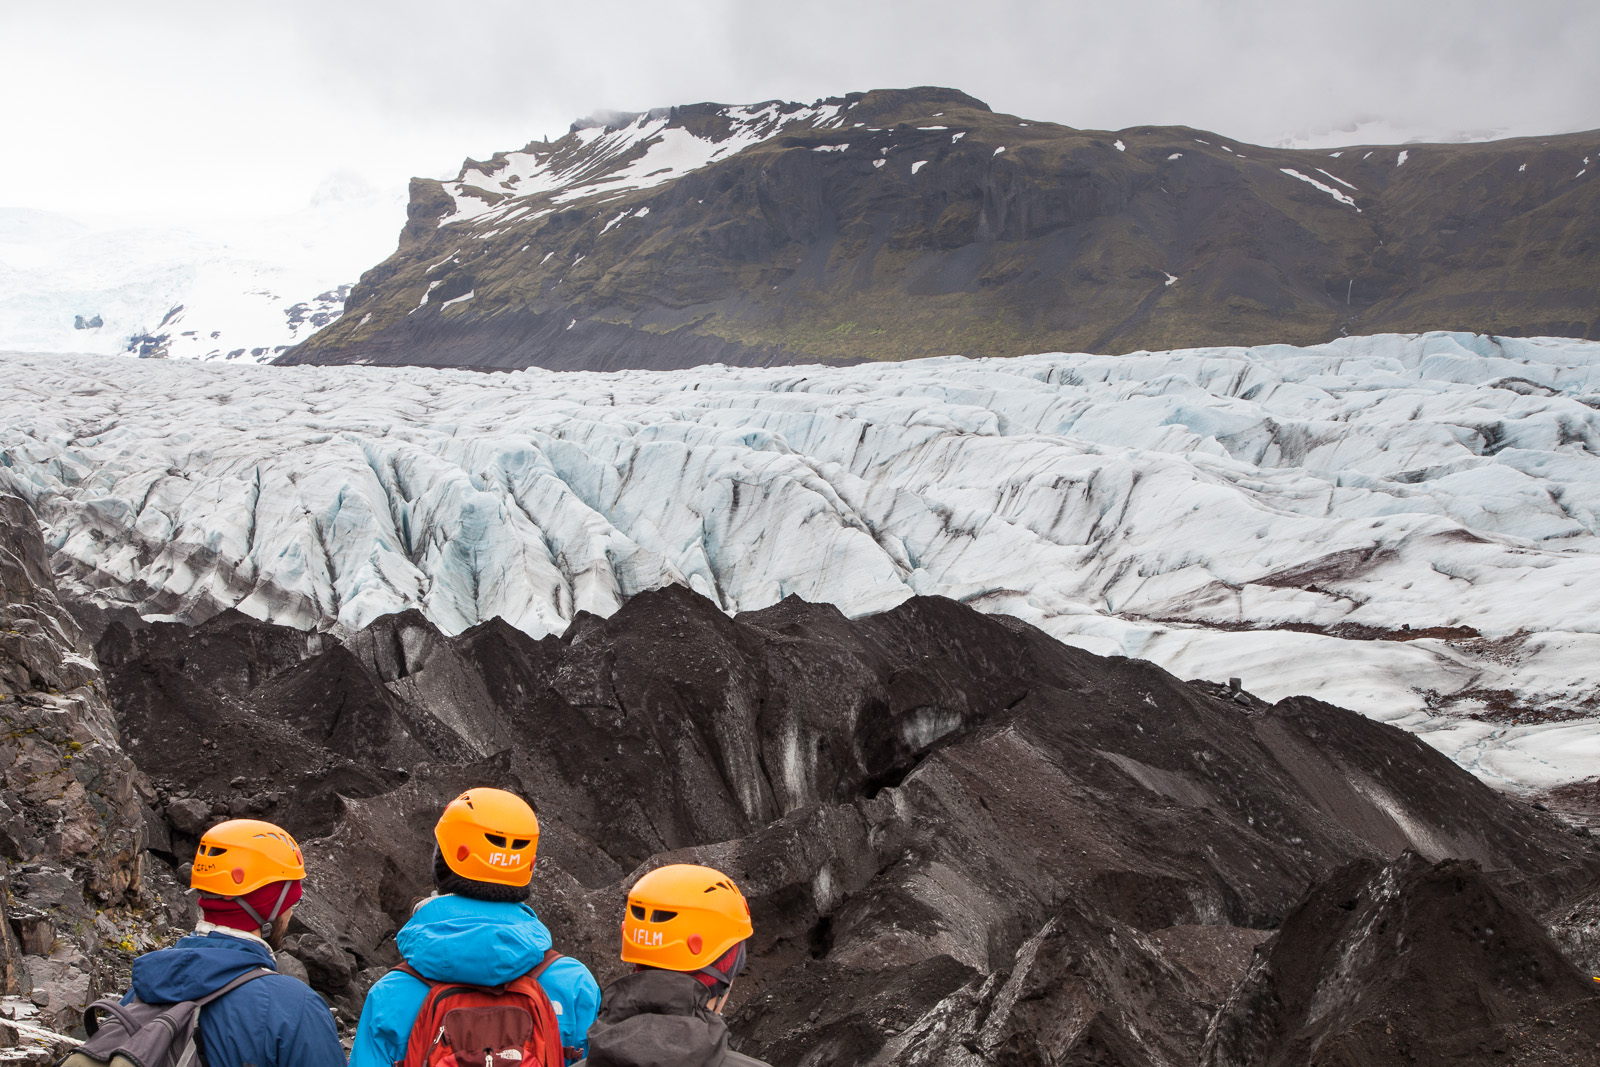
The blog has been quiet for a few weeks for a few reasons, work being the primary one. But despite the lack of updates, there have been a few things happening.
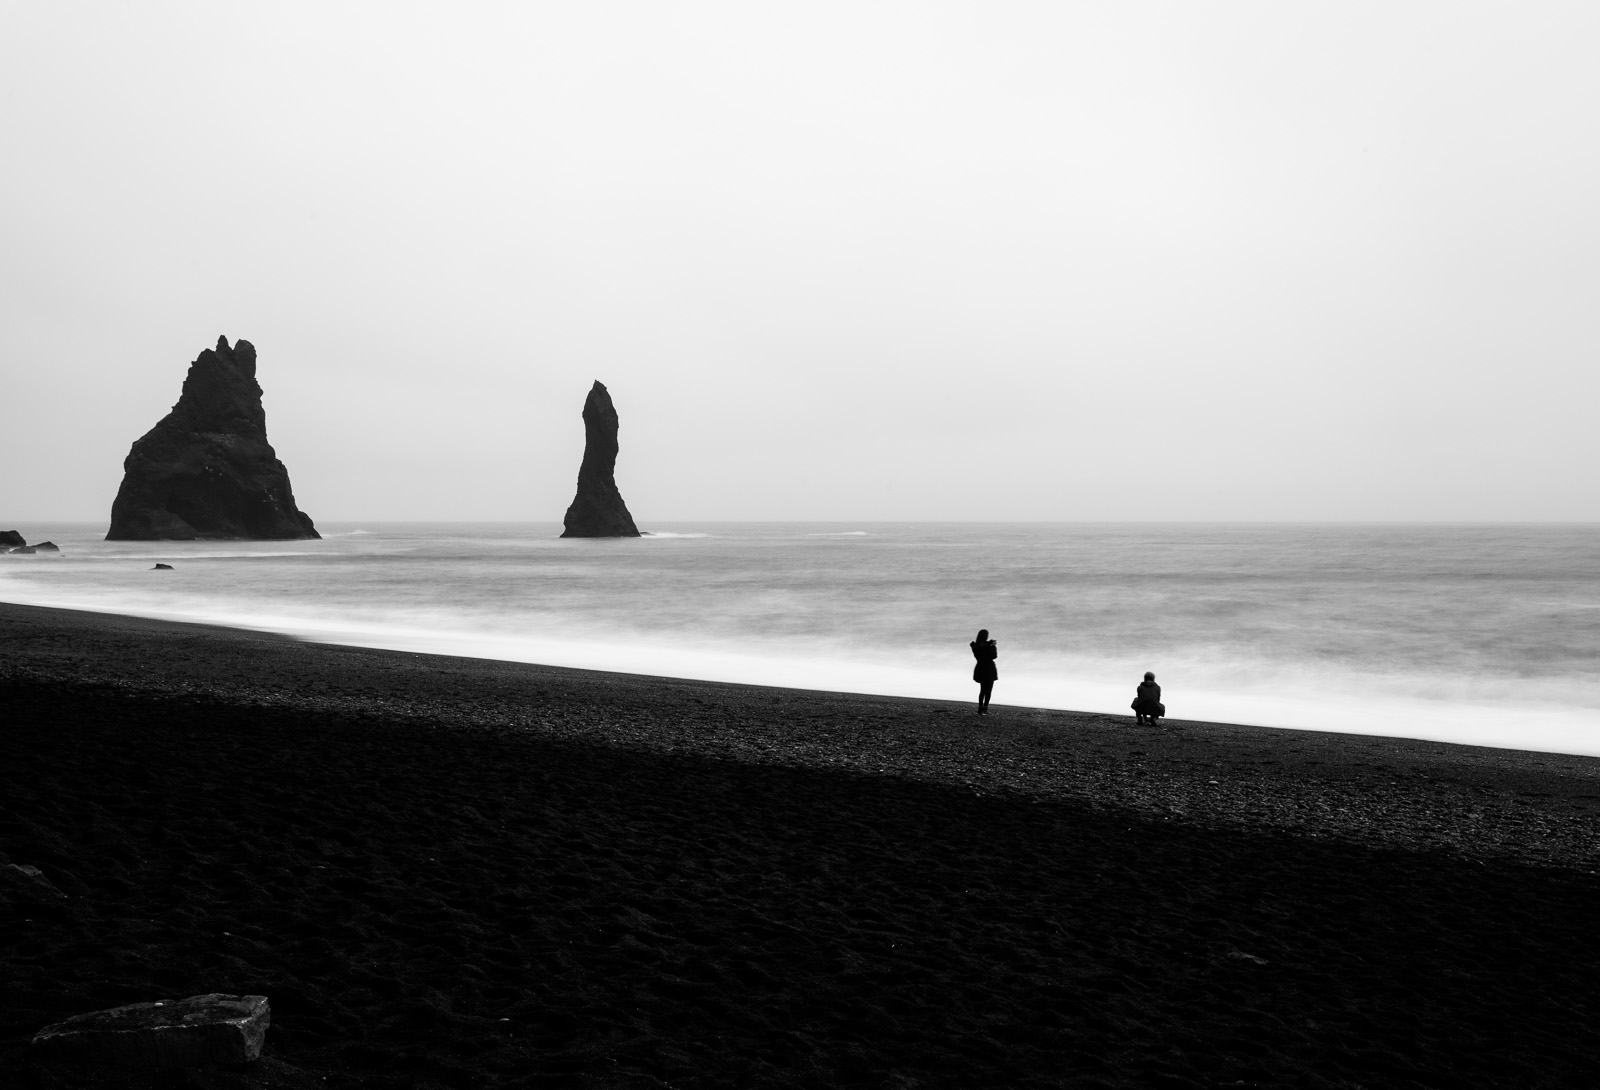
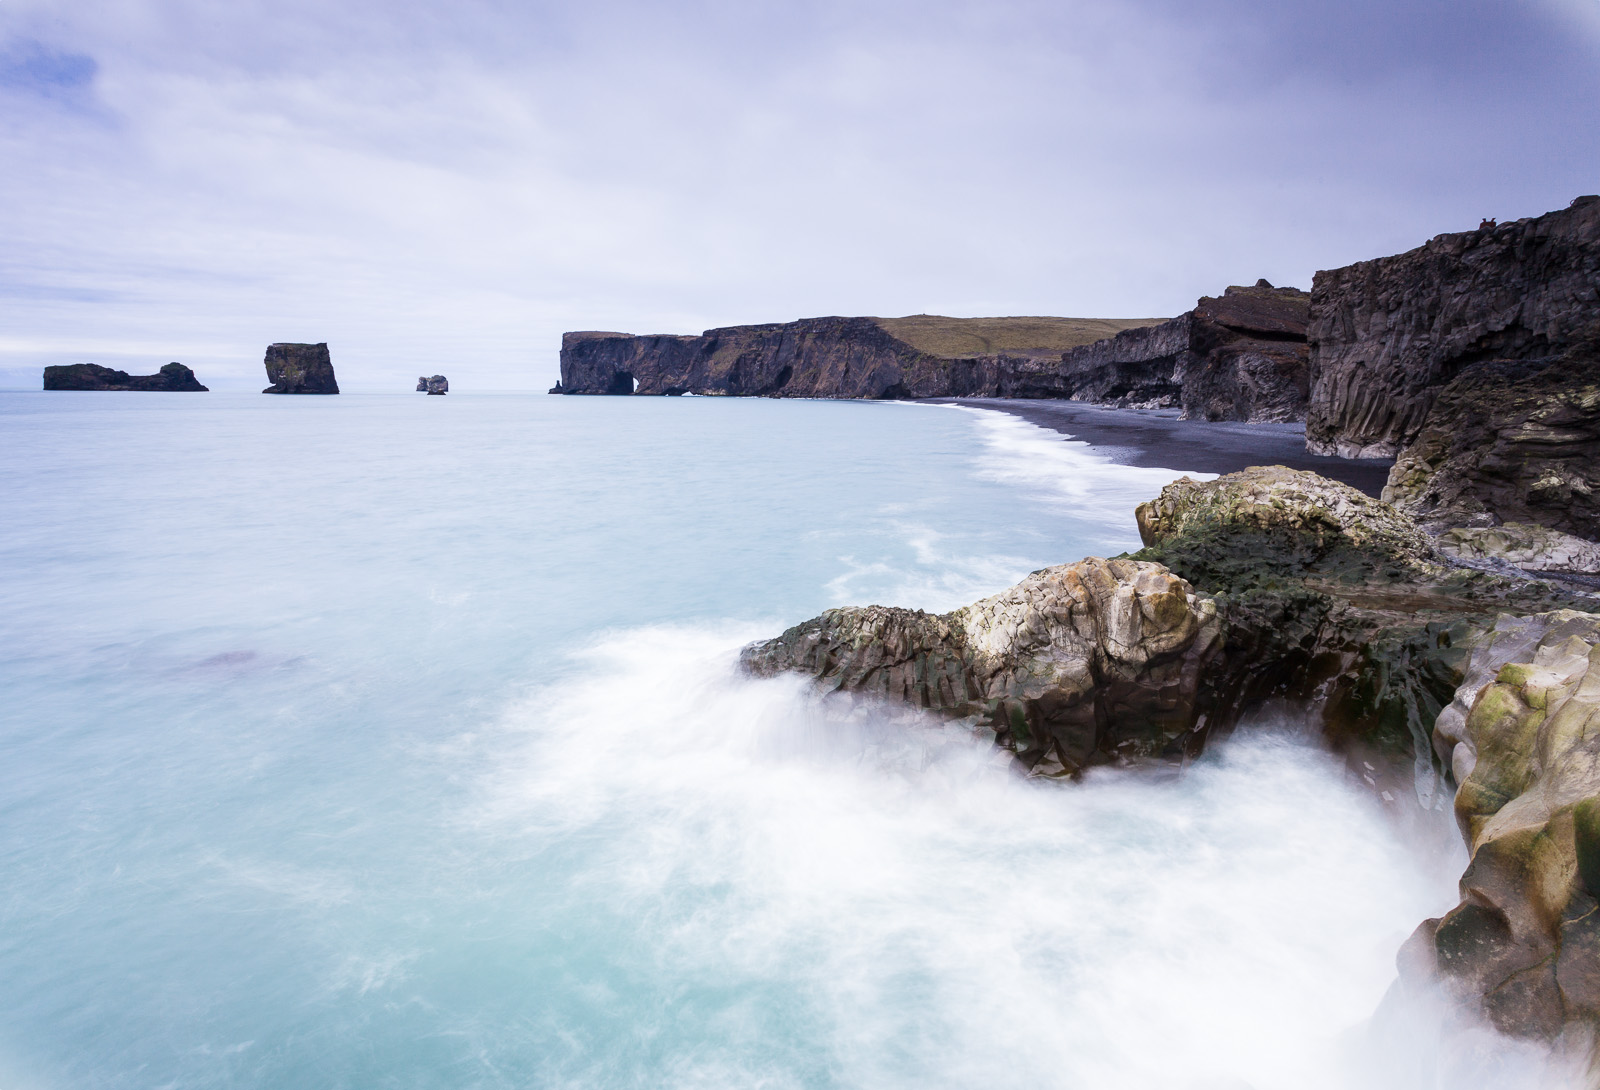
Probably the most important is that I am now PADI Open Water certified, meaning that I can scuba dive at any PADI dive centre on the planet. PADI is by far the most prolific dive school and so holding a PADI certification certainly opens up options for where I can dive although the basic certification limits me to a depth of 18 metres. Holding the PADI certification is also important for the forthcoming Iceland trip as to dive at Silfra – the only place where you can dive between tectonic plates whilst touching them – you need to hold at least the basic certification. I have also picked up dry suit diving experience – Silfra is a positively cool 2°C and a few minutes of that in a normal wet suit would see you getting first-hand experience of hypothermia.
If you recall the “grand plan” was to learn to dive so I could dive at Silfra with the camera. My direction for the web site is extreme environment photography and underwater photography from Silfra would have added some images to my portfolio. In fact the whole trip to Iceland in September was built around this premise; whilst I love Iceland I perhaps would not have returned so soon after last year’s visit. Although I didn’t go in to the details in the last update I had already worked the plan out in my mind: first get the PADI Open Water certification, then gain diving experience throughout July before taking the PADI Advanced Open Water certification and more diving experience with the underwater camera rig throughout August, then Iceland! I knew it was a tight schedule but I think most people who know me would agree that I can be doggedly determined to attain my goals. It was a clear and logical plan. But then I actually went diving.
![Having 30kg of kit to carry is just one reason that you’re not going to be gliding dolphin-like through the water. [Click to enlarge!]](http://davehoggan.com/wp-content/uploads/2015/07/IMG_0476-peep-2.jpg)
Having 30kg of kit to carry is just one reason that you’re not going to be gliding dolphin-like through the water. [Click to enlarge!]
To attain this neutral buoyancy you have the ability to pump air into your jacket which expands adding buoyancy and, all else being equal, the trick is to put the right amount of air into the jacket to counter the weight of the kit and the additional weights. And pretty much everyone can master this in the first lesson, but two things conspire against you: First as you breathe in and out you become more and less buoyant as your lungs fill and empty and second, as you go deeper or shallower air compresses and expands by a different amount. The result is a horrible combination of factors and what most newcomers assume to be a simple act becomes a frustrating and time-consuming experience.
The other issue that I hadn’t accounted for is that currents in the water are continually moving you in various directions. Kneeling on the bottom of the pool or the lake was made more challenging by nearby divers moving and creating pressure waves that buffeted me. Being partially buoyant the pressure waves were enough to cause me to continually have to twist and counter the movement by using my arms.
By the end of the course I had become better and I will continue to do so. But, here’s the problem: Unless a miracle occurs I will not be in control and stable enough by September to be able to remain motionless at will – that can take upwards of 50 to 100 dives. And when photographing landscape – underwater or otherwise – you need a stable platform to shoot from.
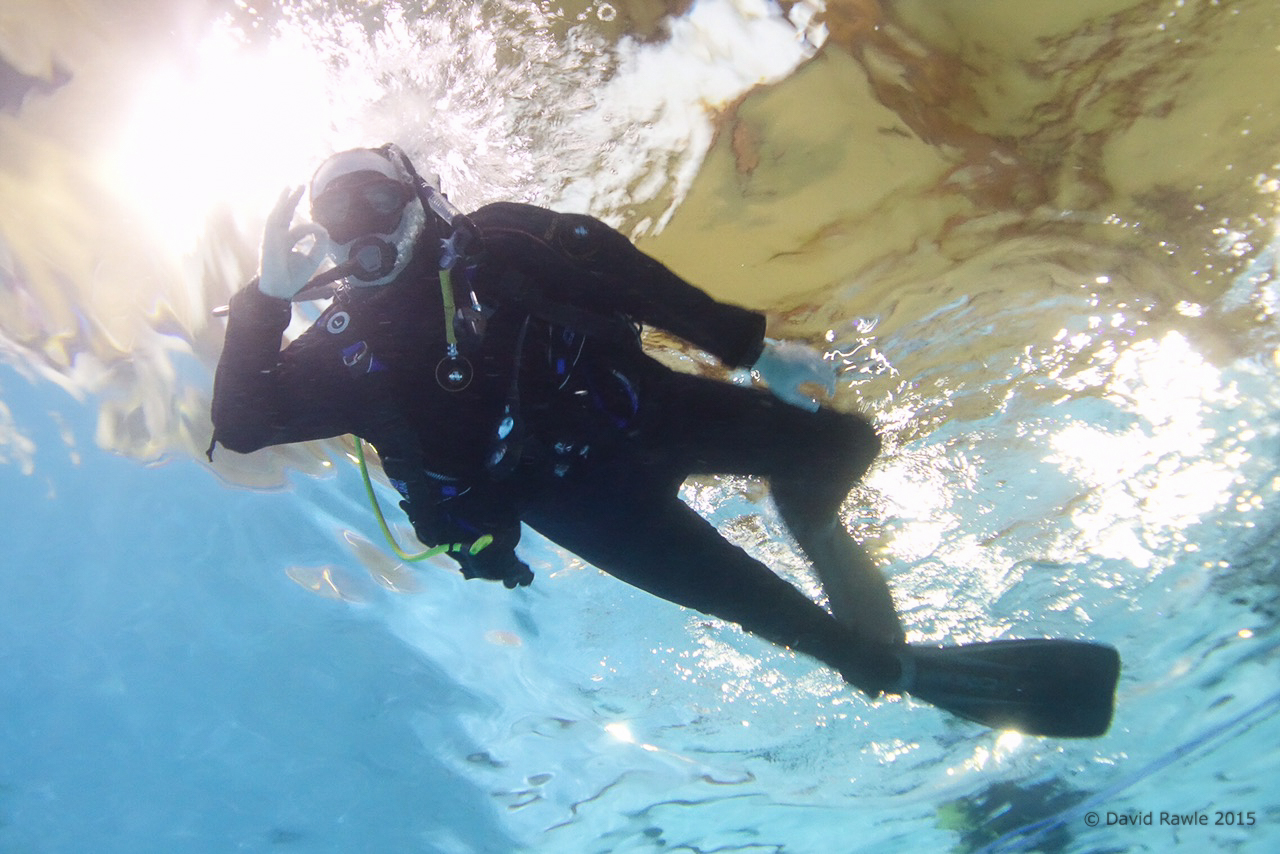
I’ve been told that I have an air of confidence in this shot. It is not confidence, simply happiness from resignation that I can’t fight Newton’s First Law of Motion.
So, at this point I have a choice: Doggedly stick to my plan to spend two days at Silfra and shooting some underwater scenes, or admit I was way too optimistic and call off the shoot.
Of course the obvious choice would be to say “Heck, I’ll do it anyway, what have I got to lose?” and, yes, that was my initial reaction, but then the second part of the whole “underwater photography” issue arises: You need a camera that can shoot underwater. It is a topic unto itself but for now suffice it to say all the options I have looked at involve a significant cash investment. Not only that, but I’ll need a lot of time to learn how to shoot underwater. In short, the “do it anyway” approach will have a high cost with a low chance of success.
What would be worse: Deciding to pull the underwater photography – the very reason for returning to Iceland so soon – or sticking to the plan, making a huge investment in kit, and ending up with images I am nowhere near happy with? It is a fine line between doggedly sticking to the plan and admitting you were too ambitious and well past your limits. One option smacks of failure whilst the other of stupidity.
But anyway, after a lot of agonising, I have made a decision: I am going to postpone the underwater photography. Yes, part of me feels like I’ve failed and yes, part of me is disappointed. But if I am to aim to do something I might as well aim to do it right. I can still dive at Silfra – a kind of recognisance mission – but I can concentrate on the dive and not the photography and probably have a far more enjoyable time in the process. Plus I have more time to explorer the surface of Iceland.
Well, as enjoyable as swimming through 2°C water allows.


![As pretty as Cape Pembroke was at sunset, hiking back wasn’t a fun experience. [Click to enlarge!]](http://davehoggan.com/wp-content/uploads/2015/05/2010-FAL-440.jpg)
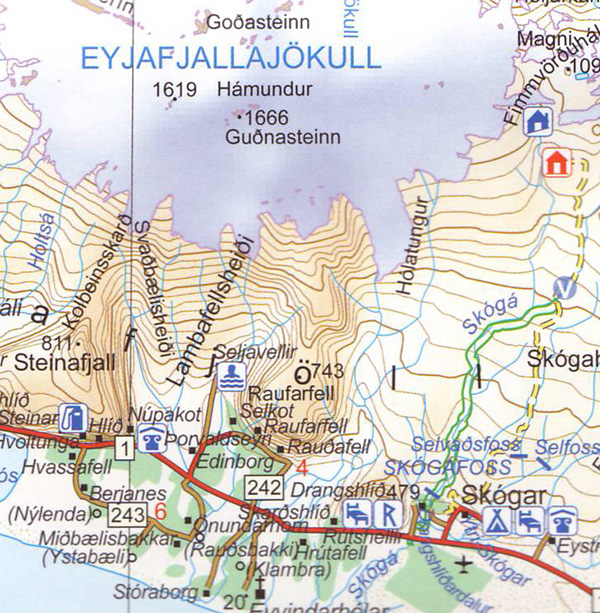
![Much of the day will be spent on the highland road F35 - not something you would want to attempt without a 4WD. [Click to enlarge!]](http://davehoggan.com/wp-content/uploads/2015/05/Thingvellir-Hveravellir-1600px.jpg)
![Google Maps chose the blue line as the 'best' route between Kerlingarfjoll and Grundarfjordur, but best for whom? Reseach and local knowledge suggests the longer, but safer route in blue/white. [Click to enlarge!]](http://davehoggan.com/wp-content/uploads/2015/05/Kerlingarfjoll-Grundarfjordur-Routes-1600px.jpg)
![Snaefellsnes may be a relatively small peninsula but it offers a wide range of landscapes to photograph. I struggled to limit myself to the dozen points of interest above. [Click to enlarge!]](http://davehoggan.com/wp-content/uploads/2015/05/Snaefellsnes-POI-1600px.jpg)